
HAPPY CHRISTMAS IN JULY!
A Special Partnered Blog Post with Debby Kratovil

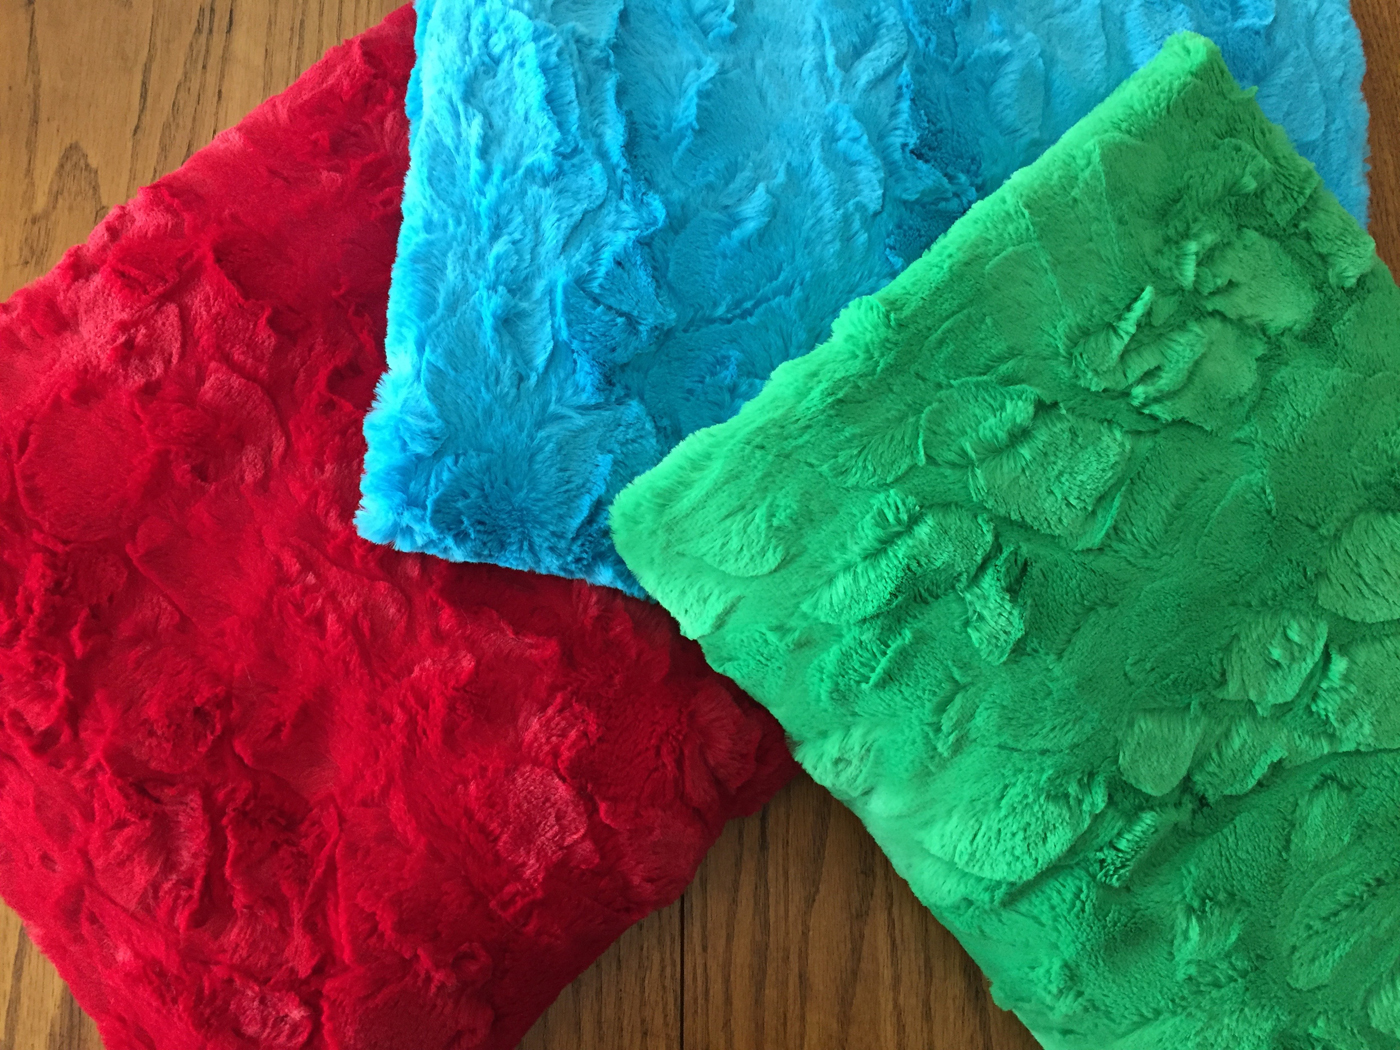
Join Debby Kratovil from Debby Kratovil Quilts as she experiments with Minky for the very first time to make pillowcases, a blanky and book pillow.

Debby has over 35 years of experience in quilting, published 3 quilting books, designed and made over 200 quilts and patterns plus 17 years of experience as a teacher! However, she has never sewn with minky and we put her up for the challenge! She also took on the task to work with Fairy Frost cotton and Christmas themed Minky together to create pillowcases and doll blankets. Let’s see how she did and learn a few tips she discovered along the way.
Materials used:
Michael Miller Fabrics: Gnome To Fa La and Beary Soft Minky, Fairy Frost and Gingham Play Cotton!
-Sewing Machine
-Size 90/14 sewing machine needles
- 6” x 24” ruler
-Vacuum
-Access to a washing machine
-Pins
Michael Miller Fabrics: Gnome To Fa La and Beary Soft Minky, Fairy Frost and Gingham Play Cotton!
-Sewing Machine
-Size 90/14 sewing machine needles
- 6” x 24” ruler
-Vacuum
-Access to a washing machine
-Pins


How to make these three pillowcases with Fairy Frost and Christmas Gnome To Fa La Minky:

For best results, use a walking foot. If you don’t have one stitch slowly to avoid “drag” on the top layer as you sew.
Step 1: Wash Fairy Frost separately from Minky. It may shrink and Minky will not.
Step 2: Cut the Minky pillowcase body at 27" x 42". Minky is 54" wide so you can cut your design to be horizontal or vertical on the pillowcase.

Step 3: Cut the hem (light blue Fairy Frost) to 9" x 42" and cut the contrasting flange (dark blue Fairy Frost) to measure 3" x 42".
Step 4: Fold 3” x 42” flange fabric in half, wrong sides together. Layer pieces as shown:
- 9" hem - open and right side up.
- Minky - right side up (42" wide side aligns with the hem fabric)
- Folded flange fabric, on top of the Minky. Pin well.

Step 6: Use a ½” seam to stitch through all layers along the 42” side.

Step 7: Once stitched, pull the main part of the pillowcase out through the unstitched end.

Step 8: Create a French Seam: Fold the stitched fabric in half WRONG sides together, aligning the hem pieces to each other and pin well.

Step 9: Using a ¼” seam, stitch along the side and bottom edges. This raw edge will be encased in another seam on the inside.

Step 10: Turn the pillowcase so RIGHT sides are together. Use a ½” seam to stitch along the bottom and side edges to encase the previous seam. Optional: serge or zig zag the bottom for extra reinforcement.

How to make 15” x 15” pillowcases with book pockets using Beary Soft:

The single layer pocket is made with the minky and Gingham Play to bind the raw edges at the top.
Step 1: Cut into Beary soft. Beary soft is thicker than printed minky and fluffier than our minky prints therefore it will have more fuzz. Use the vacuum cleaner attachment and the ruler to keep the fabric from being sucked into the attachment. Edges should be clean and no more fuzz.


Step 2: Debby made this pillow project to fit her pillow form. Make sure to adjust the sizing to your liking or pillow form. The gingham play should be about half the height of the pillow front.

Step 3: (optional) It is possible to use a zipper to close things up but it is based on your preference
Step 4: (alternative to step 3) Sew the 3 sides, slip the pillow form inside and hand stitch it closed.


How to make blankets using Beary Soft and printed Minky:
Step 1: Cut 1 piece of Beary Soft and 1 of Gnome to Fa La Minky separately to be the same size to your desired length and sew them together.
Step 2: turn right side out and Machine stitch it closed. Finished!
On behalf of Michael Miller Fabrics, thank you Debby for these great Minky tips!!
Recommendations and discoveries during Debby’s Minky journey:
ruler (6” x 24”) ruler to hold the edge of fabric down and then do a gentle swipe with the
vacuum.
- It FLUFFS when cut! While Michael Miller’s low-pile printed Minky doesn’t shed like other, fluffier fabrics, it does leave fluff on your cutting mat.
ruler (6” x 24”) ruler to hold the edge of fabric down and then do a gentle swipe with the
vacuum.


A walking foot is a MUST! This fabric has a stretch in one direction and you want to keep those layers together without distortion.
See more Christmas projects and tutorials:


Free Christmas quilt pattern downloads:


View our social media and brand ambassador pages to see more Christmas in July projects for inspiration!
Follow Debby Kratovil on social media:
Blog: http://debbykratovilquilts.blogspot.com/
Pinterest: https://www.pinterest.com/quilterbydesign/
Etsy: https://www.etsy.com/shop/QuilterbyDesign
Facebook: https://www.facebook.com/QuilterbyDesign/
Learn more from Debby via zoom: https://debbykratovilquilts.blogspot.com/p/debbys-schedule.html
HAPPY SEWING!