Friday, August 22, 2014

Laura Gunn & Flutter!


I'm always happy to chime in on Kathy Miller's beautiful blog. I thought I'd talk a bit about my newest line, Flutter. The artwork from Flutter was inspired by vintage drawings--the kind you might find in an old book about birds--with a modern twist.  
I really enjoyed creating the artwork for this line. For me, one of the benefits of drawing things from nature is it forces me to really stop and notice the details. I don't think I will ever look at a beetle the same!

I love to incorporate beautiful things from nature into my own decor. So I could hardly wait for some yardage from Flutter to arrive on my doorstep. When it did I plunged right into a guest room makeover.  

I added a cushion to a simple Ikea bed frame--making it prettier and a lot more comfortable!  We are big on reading in bed at our house so a comfy headboard goes a long way. I also made a duvet cover using my bird print and a small pillow using fabric from my Poppy Remix collection. And I trimmed it all in some favorite prints from Edges.
I almost forgot the pillow case. I cheated on this one. I just sliced off the end of an existing white pillowcase and added a beetle border. This pillow is no longer in the guest room as my seven year old son has claimed it as his own.  


I hope you enjoy working with my new line as much as I have! 

-Laura

........................................... 
For more Flutter, check out this quilt by Marinda Stewart, coming soon as a free pattern on our website!


Tuesday, August 19, 2014

MMF Kids Craft Camp Project #3 :: The Lined Tote by Tamara Kate

Hi everyone, it’s Tamara Kate here with you today. You may be familiar with my work as one of Michael Miller Fabric’s licensed fabric designers, or through my blog, kayajoydesigns. Today, however, I am delighted to be here as an avid sewer, Mom of two who are learning to sew, and this week’s guest Camp Counselor in the Kids Summer Craft Camp Series.

Well, ok, I am also here with my fabric designer’s hat on, as I get to give you a peek into the world of wonders that is Origami Oasis, my new fabric line about to hit stores in September. Origami Oasis is a graphic, young, lively collection, comprised of three color groupings, offering a myriad of possibilities for boys and girls, so everyone can get in on the fun. This project uses fabrics from the Flower Field group.
 
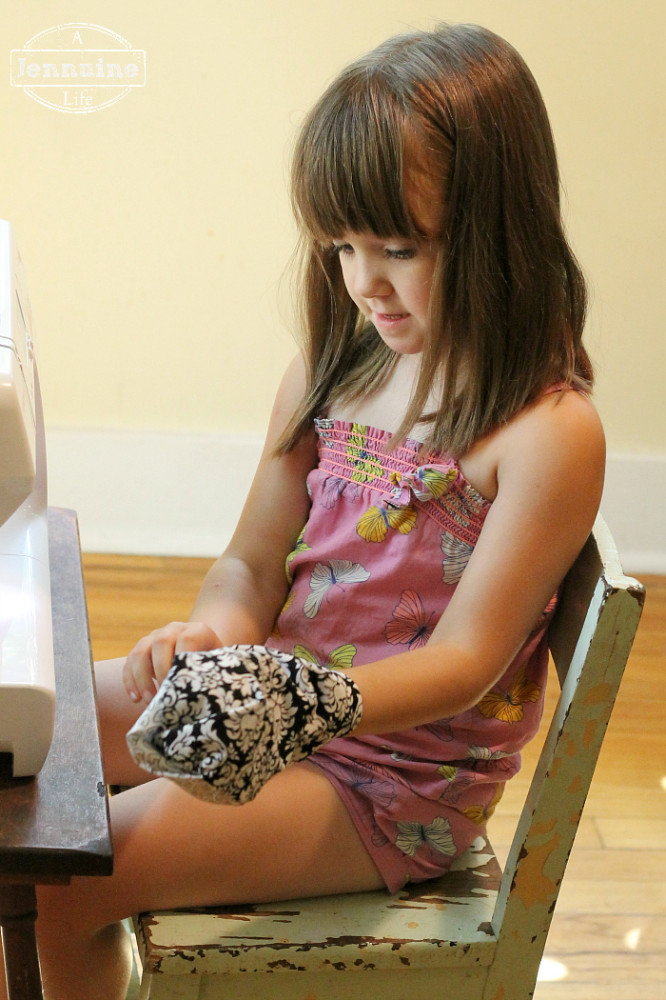
I asked my eight-year old daughter, Emma (who recently received a sewing machine as a birthday present) what she would like to learn to sew for this series, and we went back and forth on a variety of ideas, but came to rest on something functional that she could sew on her machine and that she could have fun embellishing as well. Thus we created the Lined Tote Bag.


Your camper will need basic sewing skills and use of a sewing machine for this project. If he/she is new to machine sewing, I find these sewing sheets, by Skip to my Lou, great for getting comfortable before diving into the project.

So campers, let’s get started.

Your Supplies:

- A - 2 pieces (10” high x 12” wide) main fabric

- B - 2 pieces (3” high x 12” wide) contrasting fabric for base of bag

- C - 2 pieces (20” high x 6” wide) fabric for straps

- D - 1 piece (23” high x 12” wide) fabric for lining

- materials for embellishing (sequins, beads, embroidery floss, felt….)

- thread

- fine needle
Here’s what we used:


- Embellishments: a variety of shapes & sizes of sequins and glass seed beads.

Your Instructions:

Cut your fabric as indicated above.

The embellishment: You get to use your imagination here and be as creative as you would like. (tip: keep anything hard or bulky at least 1” from fabric edges, as otherwise they may cause problems when machine sewing). Here are a few ideas:

- cut shapes from felt and stitch them on with a simple embroidery stitch

- embroider around design elements that are printed on your fabric

- add buttons or ribbon

We sewed on sequins and glass seed beads in strategic spots, giving the trees fruit and flowers and giving some of the animals just a little more pizazz than they already have.


Here’s a quick how-to: Using regular sewing thread and a fine needle, knot your thread and bring your needle up through the fabric to the right side. Thread the sequin onto the needle and pull it down to the fabric, then thread a bead on. Pass your needle back through the hole of the sequin to the back of the fabric & pull the thread all the way through. Keep the beads and sequins in a concentrated area for more visual effect and don’t leave too much loose thread dangling at the back between beads, as it can easily get snagged on things and create problems. Be sure to knot your thread securely at the back of the fabric.

The machine sewing: We used ½” seams in all places. Here’s a tip we use to help with sewing straight lines: Place an elastic band or a piece of masking tape around the base of the machine exactly ½” from where the needle descends, giving a bold visual of where the fabric edge should stay.

Ask an adult to help with any ironing.

The front and back: With right sides together, place B on the bottom of A, aligning edges and stitch across the width (tip: if your B fabric is directional, make sure to turn it upside down). Repeat for the other side. Iron seams toward fabric B.

The bottom of the bag: Right sides together, place one bag side on top of the other, matching bottoms. Measure in about 4” from either side at the bottom and place pins at these points.  Sew in from each side, backstitching at the pins, leaving the center area open. You will use this opening to turn your bag right side out later on. Iron seam open.
The straps: Fold one C piece in half along its length. Sew the long raw edges together. Turn the strap right side out by pulling on the inside with your fingers. Repeat for the other strap. Iron the straps flat, seams to one side.

Attaching the lining & securing straps: Place one strap in a “U” formation at the top of one of your bag sides, aligning raw edges and leaving 1½ ” of free space at both right & left edges of the bag. Make sure the bottom of the “U” looks like the picture below.

Carefully place piece D on top, aligning edges, and pin the strap securely in place. Sew along the top edge. Repeat with the other side. Iron both seams toward the lining.

The sides: You should now have a tube of fabric, with your straps on the inside. Adjust the tube so the seams you just created are in the center and the base with the opening is at one end. Pin along both long edges, making sure not to catch the straps in anywhere. Sew both sides, backstitching at each end.

Turn the bag right side out through the opening left in the base. Stitch the opening closed by hand using a whipstitch, trying to keep your stitches small and close together. Knot your thread at the end. Before cutting the thread, pass your needle through the fabric at the end of your stitching and back out again 1” further along. Gently pull on the thread to pull the knot through to the inside of the bag, then cut the thread.

Insert the lining into the bag and pull all corners out sharply (you can gently use a pin to help). Iron your bag to have a crisp upper edge and to remove any creases.

Be proud of what you’ve created & enjoy using it!

 
Happy sewing!

Tamara
.............................................

Send us pictures of your child's work in progress or their finished tote using Michael Miller fabrics and two lucky campers will win a bundle of Origami Oasis!
--Here are several ways to enter--

1. Help the kids photograph their projects and then send them to us!

2. You can email the ideas and photos to kaitlin@michaelmillerfabrics.com

or

3. Post your photos to our Facebook page 

or

4. Tag @michaelmillerfabrics on your Instagram photos and use #MMFCraftCamp

We'll pick the lucky campers after Labor Day weekend!


Thursday, August 14, 2014

Chroma by Mark Hordyszynski


It's great be be here, posting on Michael Miller Fabric's "Making it Fun" blog.

is a tribute to color
presented in simple silhouettes
Color Hue Rainbow Original Masterful Abstract
evoking a modern, urban renaissance
free form rectangles and circles akimbo and askew
primitive, rough-handed vertical ragged stains
http://www.michaelmillerfabrics.com/inspiration/freequiltpatterns/flower-fields-quilt-instructions-coming-soon-1.html

Cotton Couture in Brite White worked wonderfully for the pillow cases both in having a soft hand and it sews so effortlessly.
 ..................... 

 droplets etching meandering, shape-shifting paths
Used together or separately
 they’re graphically focused to embolden your artistic sensibilities
http://www.michaelmillerfabrics.com/paint-lids.html
For the men's shirt I used the selvage with my name for the label and color windows as a trim on the bottom front placket. 
No two buttons are identical.
 ..................... 

Paint Chips, Paint Lids, Brush Stroke and Drop Cloth
can be viewed by clicking above, 
and the free download of Marinda Stewart's Paint Chips Quilt can be downloaded by clicking here or on the quilt below.
http://www.michaelmillerfabrics.com/inspiration/freequiltpatterns/flower-fields-quilt-instructions-coming-soon-1.html

All my best,
Mark

Friday, August 8, 2014

MMF Kids Craft Camp :: Project #2 The Camper Cowl!

Hello there! I am so excited to be a guest counselor for Michael Miller Fabric's Kids Summer Craft Camp
      
My name is Jenn and I share sewing, other creative adventures, and snippets of our daily life at A Jennuine Life. I recently taught my then four (now five) year old daughter, Arden, how to sew and we created a series called Tiny Sewists: Teaching Kids to Sew. I also design children's sewing patterns under my label Jennuine Design
https://www.michaelmillerfabrics.com/index.php/fileuploader/download/download/?d=0&file=custom%2Fupload%2FFile-1407441398.pdfFor today's Craft Camp, I created a project that is perfect for kids of all ages to sew for themselves! Arden sewed her own Camper Cowl, shown here. This is a digital pattern that you can print at home on regular paper along with a step by step tutorial.   Camper Cowl Michael Miller Kids Sewing Camp You'll need access to a sewing machine for this project and basic sewing skills. Two 1/3 yard cuts of fabric, or one 2/3 yard cut is all that it takes! The downloadable instructions for the Camper Cowl can be found here or you can click on the picture of the pattern cover above!  


*fabrics pictured above are from the Petite Paris Collection (Coming soon!)
  
Once you've opened the file, print the pattern pieces at full size, gather your materials and let's get sewing! This cowl is sized to fit kids all the way through adults. That means you can make some for yourself, your friends and for Mom & Dad! It's a quick project, so you'll have time to make several with all your favorite fabrics. Get together with your friends and gift/swap/trade away!  *fabrics pictured above are from the Petite Paris Collection *fabrics pictured above are from the Petite Paris Collection  (Coming soon :)

.....................................

Thanks so much, Jenn and Arden! We love the special project that you created together... and wouldn't it be the perfect accessory for a back to school outfit?!

We want to see your kids' creations-- Whether they're Camper Cowls, Bean Bags (from Project #1) or something else your kids have made this summer with Michael Miller Fabrics...

We're giving away a bundle of Modern Basics to two randomly chosen campers who send us picture of a summer project!


--Here are several ways to enter--

1. Help the kids photograph their projects and then send them to us!

2. You can email the ideas and photos to kaitlin@michaelmillerfabrics.com

or

3. Post your photos to our Facebook page 

or

4. Tag @michaelmillerfabrics on your Instagram photos and use #MMFCraftCamp 

Two lucky campers will win MMF Modern Basics bundles!
We're accepting photos of projects until Thursday, September 4th and we'll pick two winners on Friday, September 5th.

Happy sewing, campers!


Thursday, August 7, 2014

Patty Sloniger & Emma's Garden!

Hello there! I'm really happy to be guest posting here on the MMF blog to kick off my Blog Tour for Emma's Garden. It's going to be a fun week and a half, filled with lots of projects and tutorials, and a giveaway on every stop!


Emma's Garden is a collection I dreamed up when I found out I was expecting a little girl, my first. I knew I wanted this collection to be something I could make dresses out of, for her and for me. It had to have florals and butterflies, and some classic motifs as well.

Have I mentioned how awesome it is to see both our names on the selvedge?!

 
I had so much help sewing up samples for my booth at Spring Quilt Market, here are Emma and I being silly in a romper Rebekah made for her! (Don't mind me while I post just a few pics of the little one!)


Playing in the grass with a softie by Liz Pawlik that will be making an appearance with another animal friend later.


and a darling baby quilt by Hilary of YoungTexanMama .


This little number was one of emma's favorite to wear because it was sooo soft. Felice Regina of SewScatterbrained crocheted the top yoke, and I sewed on the skirt. 


Check out that sweet, scalloped collar!


You'll also be getting a better look at this cute, reversible wrap-top also sewn up by Liz Pawlik of FatChickQuilts a little later on the tour, but I couldn't resist previewing it here.


Finally, here's a sneak peek at a few of the other projects you'll get to see...


Here's where you can find us:

8/7 - Michael Miller's website (that's me!) www.makingitfun.blogspot.com
8/8 - Hilary - youngtexanmama
8/9 - Karri - karriofberries
8/10 - Felice - sewscatterbrained
8/11 - Sally - sallysangelworks
8/12 - Liz - www.fatchickquilts
8/13 - Julia - starsandsunshine
8/14 - Jacey - jaceycraft.blogspot
8/15 - Sophie of C'est LaVie - lescrapdesoph
8/16 - Pam - pamquiltaholic
8/17 - Patty (yup, that's me again!) beckandlundy

I hope you'll join us on our Tour!