Monday, April 18, 2022

Nursery Blog Hop Day 5- “Stairway to the Stars” Quilt by Natalie Crabtree


We’re so excited to have our final guest Blogger, Natalie Crabtree, show you her amazing projects using “A Bushel and a Peck” collection by Alicia Dujets. 
——

Hi! I am Natalie Crabtree, owner of Crabtree Arts Collective! I’m so thrilled to take over the Michael Miller Blog for this fun Nursery Blog Hop. Thank you to the team at MMF for allowing me to take part in this fun project, spread the word about the fun kid-friendly prints at MMF and share a bit about my quilt pattern – “Stairway to the Stars”. Let’s get started! 


​​​​​​​

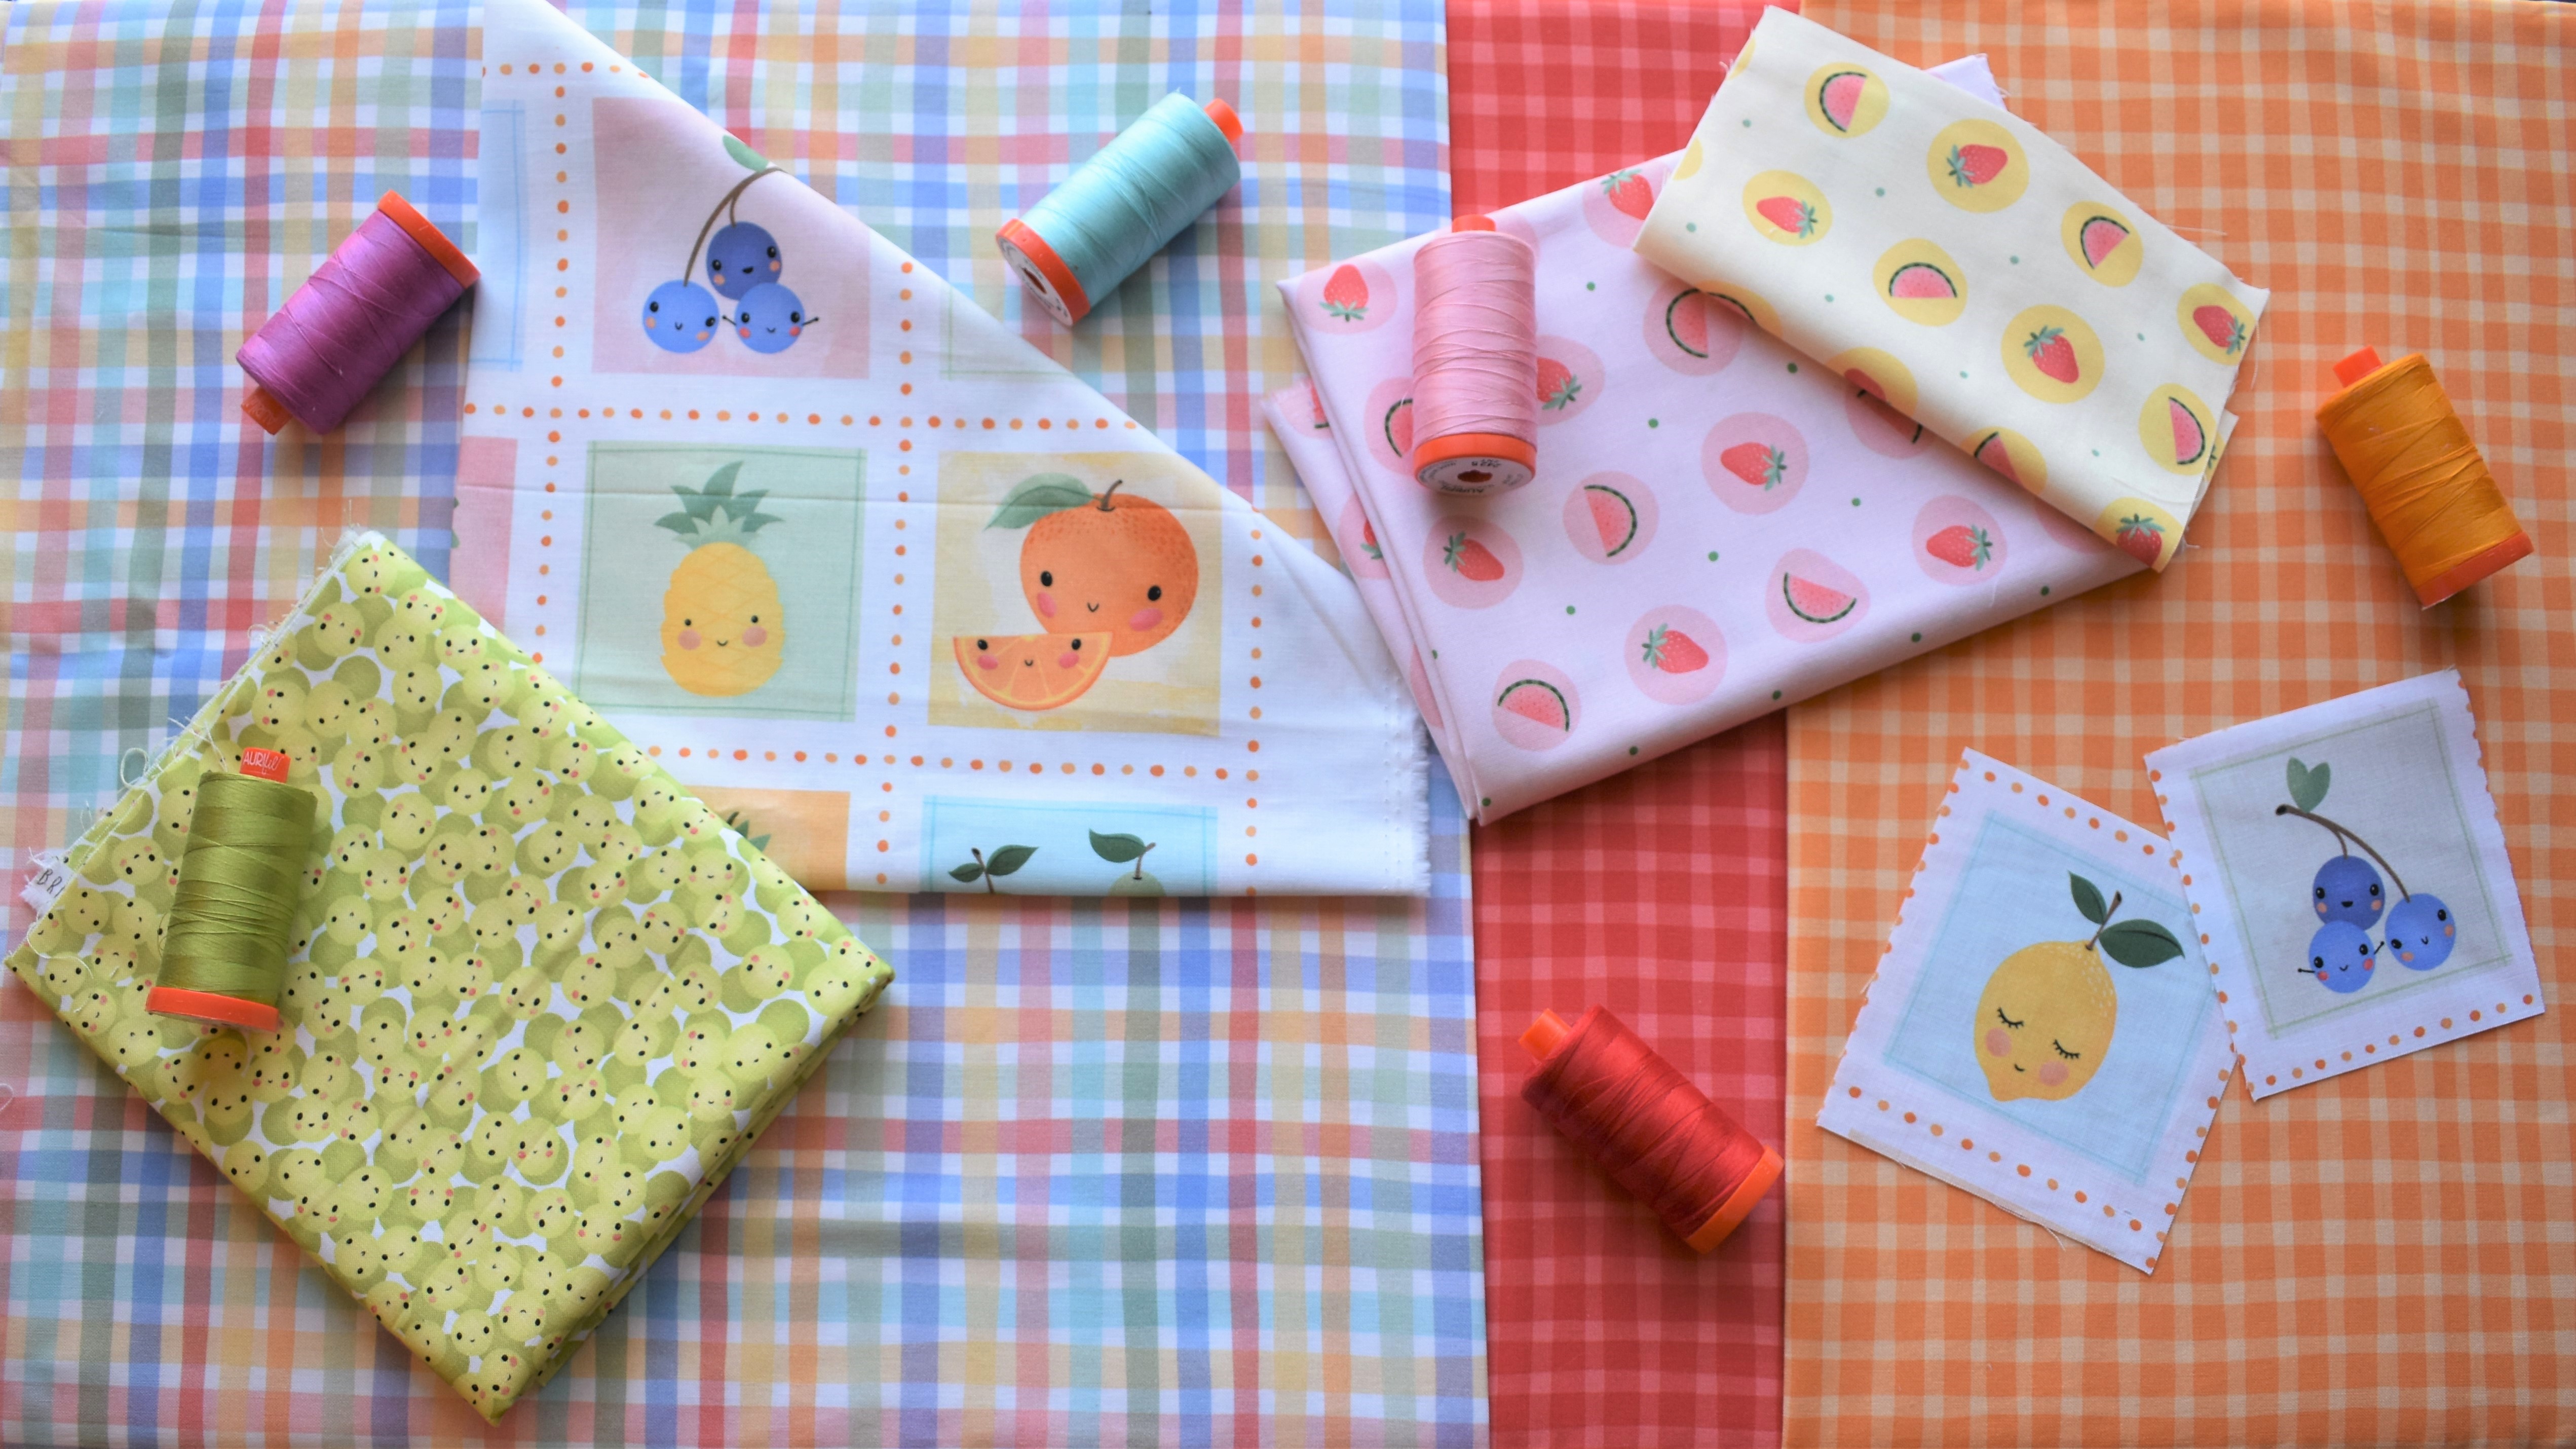
I had the absolute pleasure of working with the “A Bushel And A Peck collection https://www.michaelmillerfabrics.com/shop/collections/a-bushel-and-a-peck.html and the luxurious and soft Beary Soft Minky collection


​


I have always had a fondness for kid-friendly prints, and Michael Miller Fabrics has a wonderful selection of bright, happy prints that engage and entice children, but are also fun and enjoyable for parents too. Although my baby, Gwendolyn, isn’t a baby anymore (She’s 4!), she loves taking part in designing and creating quilts. Her love of fabric and color runs deep, and she was immediately drawn to this collection. 

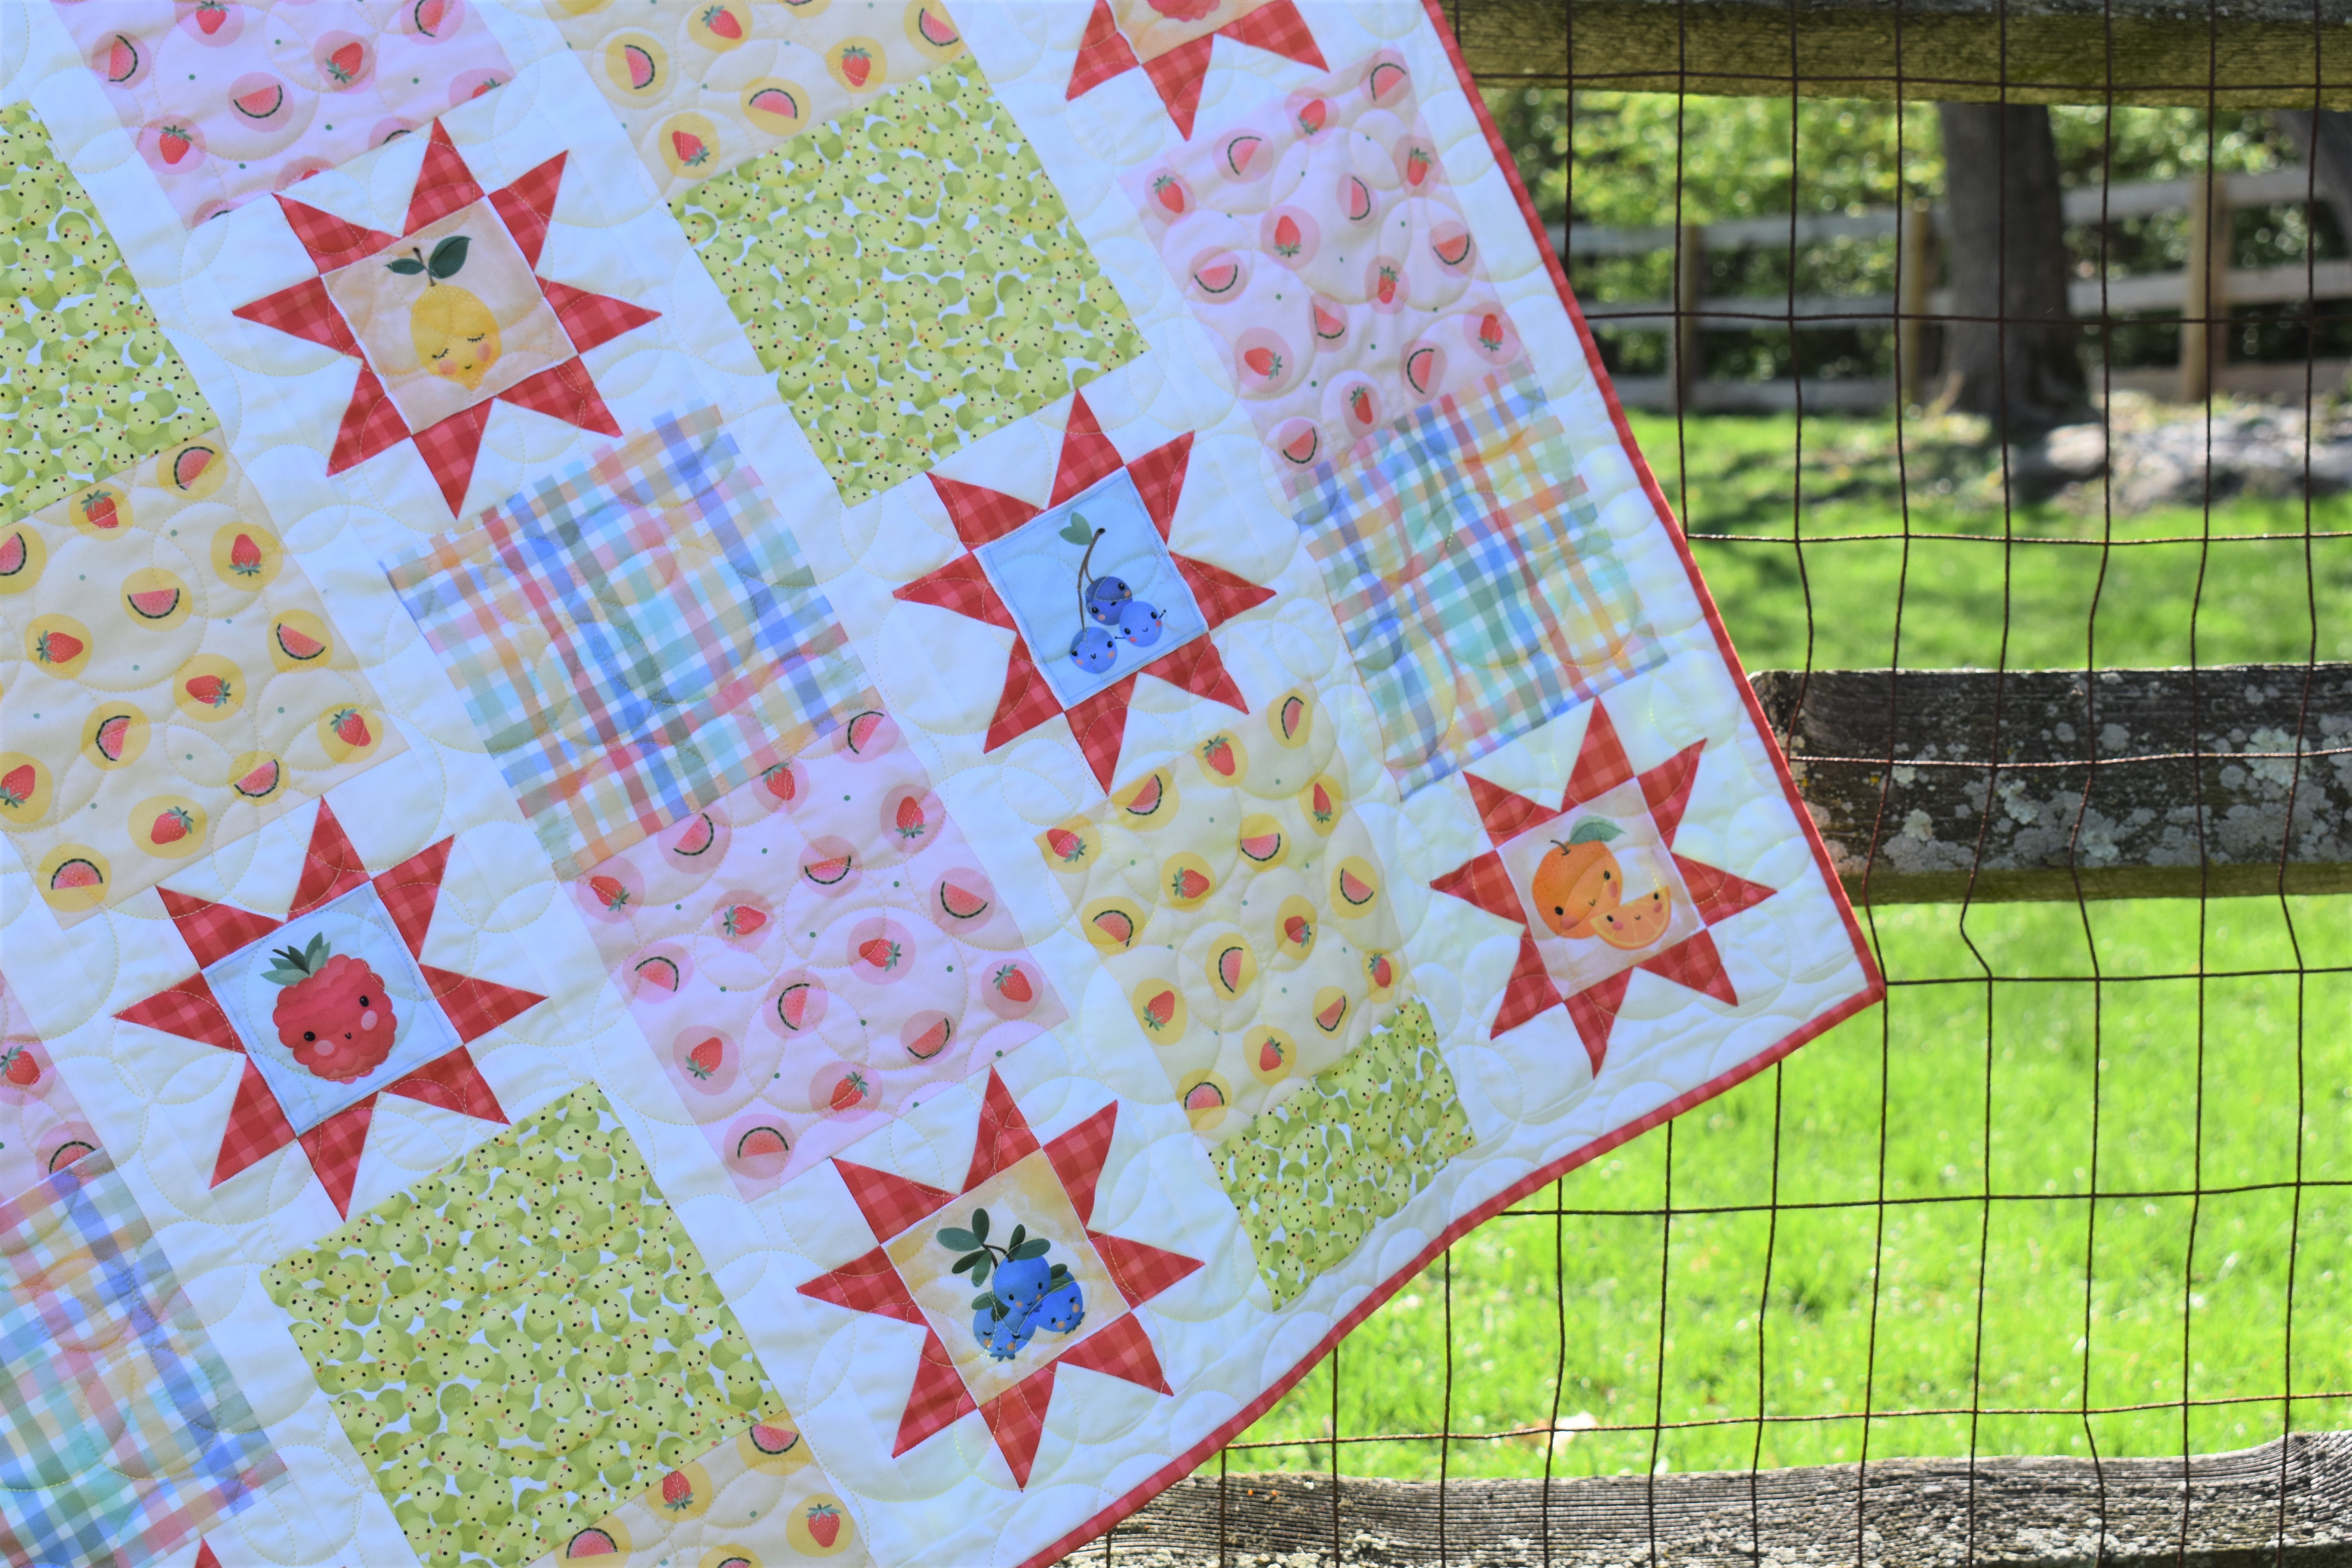
We were able to fussy cut the small ‘postage stamp’ like fruit panels into 3 ½” squares for my pattern “Stairway to the Stars”. The small fruit panels were the perfect fussy cut addition to the easy Sawtooth Stars used in this quilt. Images and details to follow. 


​​

The colorful fruits featured in the “A Bushel And A Peck” collection were a treat, featuring sweet faces for a bit more personality! The color palette was bright, but soft and easy on the eyes. Not only is this collection adorable, but it can be a source of learning and growth for babies and toddlers. Babies and toddlers are like sponges aren’t they? Cuddling up or playing with a quilt created with this collection, they are bound to learn about colors, fruits and shapes. 


Gwen and I especially loved the tiny green grapes, and the watermelon medallions. How adorable! The prints were perfect for mixing and matching for vertical rows featured in “Stairway to the Stars”. I cannot resist a plaid print, and I especially love a collection that uses multiple colorways of a great plaid print. We used the multicolored and red plaids! 


My “Stairway to the Stars” pattern makes for a quick and easy baby quilt that will allow you to display larger prints in 6” finished squares. This was perfect for the “A Bushel And A Peck” collection because I didn’t want to cut up the prints too small. They were too sweet!“Stairway to the Stars” is easily a weekend project! Although the original quilt measures at 54” x 66”, this baby quilt is a smaller modified version of the original measuring 36” x 44”. Perfect for baby!


​​​​​

I simply excluded the outer border on the original pattern and reduced the number of squares and stars in each vertical row. This pattern is easily adjusted to be larger, or in this case smaller, to fit your needs. You could opt to create the larger version of “Stairway to the Stars” to ensure it will eventually transition to a toddler bed! 

Here are the yardages required to make the smaller version of “Stairway to the Stars” Click HERE for pattern.  The “A Bushel And A Peck” collection skus used in this quilt can be viewed HERE  

• Background (Cotton Couture Bright White for Star Background, Sashing, Border): 1 yard 
• Plaid Print for Stars and Binding (Red Plaid, DC10054 Picnic Basket Red): ¾ yard
• Fussy Cut Star Centers (DDC10048 Fruit Stand Friends Multi): 3/8 yard
• 4 Coordinating Prints for Plain Squares (DC10050 Melonberry Pink, DC10054 Picnic Basket Multi, DC10054 Through the Grapevine Green, DC10050 MelonberryYellow): 3/8 yard each 
• Backing (Beary Soft Minky BS11000-LIME-D, Minky is 58/60” wide): 1 ¼ yards https://www.michaelmillerfabrics.com/shop/basics/beary-soft.html


Finishing up this project was fun! Gwendolyn loved the soft and cuddly lime colored minky on the back of this quilt! The texture is beautiful, and the color is vibrant. 


Thank you for reading my Nursery Blog Hop post, and for following along with all designers as we present fun and easy project ideas to gift to the babies and kiddos in our lives! 

If you would like to see more by myself and Crabtree Arts Collective, be sure to follow along on Instagram at @njcrabtree and on Etsy at CrabtreeArtsQuilts | Etsy . 

MICHEAL MILLER BLOG HOP FOLLOWERS CAN RECEIVE 20% OFF THE STAIRWAY TO THE STARS PATTERN AND OTHERS USING THE CODE “MMFBLOG20” FOR THE MONTH OF APRIL. 


This concludes the Nursery Blog Hop! A special thank you to all the participants and readers who followed along. We hope to have inspired you to make your own projects for your homes and loved ones! Leave in the comments which project you enjoyed the most from the blog hop for a chance to win a Cotton Couture FQ bundle! 


Make sure to follow our Facebook and Instagram pages for more inspiration content and free patterns!  Share with us the Nursery projects you create by tagging us @michaelmillerfabrics


HAPPY SEWING! 


Wednesday, April 13, 2022

Nursery Blog Hop Day 5- Baby Set by Suze Vinton of Beralus Vinton Design


Welcome to our our Nursery Blog Hop! Today's post is a guest blogger, Suze Vinton. Make sure to follow along for  to see all the beautiful inspiration from talented makers. Links will be posted HERE

    Baby Set using To the Moon And Back Fabric: 

         Suze Vinton of Beralus Vinton Design 


I am Suze Vinton, owner of Beralus Vinton Design and I am here taking over on the Michael Miller blog for the Nursery Blog Hop to share with you this amazing To the Moon and Back cotton & minky collection! 


This collection is so beautiful. I could have made a million projects if I have the time. After long hours of trying to figure out what I wanted to make, I narrowed it down to these three baby items! I was inspired by the stunning neutral colors in the collection to make my projects perfect for any parent look to make items for their precious little ones. 


  1.   A dress:

I used the Marlowe’s Vintage dress pattern available on my website. I love that I can make two dresses in one. It also comes with a cute little bloomer. 

This pattern is a classic with lots of variations to meet your needs from short to long sleeves options to ruffles or non-ruffles and it is beginner friendly! The pattern is suitable for newborn sizes to 14 kids. 


Recreate these dresses with the pattern here: https://ckcpatterns.com/marlowes-girls.html


I love the print. They are beautifully designed, and Michael Miller never disappoints!


  1. A quilt:


I do not own a pattern for this project. However, I just made it up as I went. The Love You 24” Panel is my favorite print and I had to make it the star print of this quilt by cutting the borders and adjusting until I was happy with the size. I also used minky for the backing which made the quilt super soft and comfy!  My 8-year-old daughter loved it so much she wanted to keep it in her room. 


 I especially loved working with minky because it did not shed and felt like fur without all the shedding and mess.  To bind the back, I used a lot of glue spray and kept it as flat as possible so it wouldn’t shift around. My suggestion is to take one section at the time when quilting it together while flattening it out.


  1. A diaper bag. 


No baby set is complete without a super cute diaper bag! This was my 1st time making one and I think it turned out adorable.  The Bag pattern is called Belle Baby Bag from Swoon Patterns. 


Get the pattern on their website here:  https://swoonpatterns.com/belle-baby-bag-5.html


This collection was an absolute pleasure to work with and has excellent baby neutral colors! 


Please visit my pages below for more Inspirational projects: 


Instagram: https://www.instagram.com/beralusvintondesign/


Blog: https://ckcpatterns.com/blog/


Missed any of the projects during this Nursery blog hop? Catch up with the links available here: https://blog.michaelmillerfabrics.com/2022/04/nursery-blog-hop.html


Happy sewing! 


Wednesday, April 6, 2022

Nursery Blog Hop Day 1- Minky Floor Pillow Tutorial By Lindsay Chieco of Linzentart


Welcome to our first blog post from our Nursery Blog Hop! Today's post is a guest blogger Lindsay Chieco. Make sure to follow along for the next 3 weeks to see all the beautiful inspiration from talented makers. Links will be posted HERE

Minky Floor Pillow Tutorial By: 
Lindsay Chieco of Linzentart 


Looking for something to sew for adventure lovers? Below I have provided free instructions to an awesome minky floor pillow suitable for babies, kids and adults! I was inspired to make the floor pillows with this collection because when my kids were younger, they loved lying on their floor pillows, whether it was to read a book or watch a movie. I debated making a blanket with the fabric line, but I thought of how much use we got out of our floor pillows when the kids were young. My favorite print from the collection is the blue mountains! I backed both pillows with that print. I love the blues and greens and the mountains always make me think of adventure. I love how this collection makes me want to get the kids outdoors and explore. 

My youngest kid is 8 and he still loves using the floor pillows as well as our animals. See more pictures below.  


Materials:


Cutting Requirements:

  • Cut (2) 40 inch squares for the top and bottom of the floor pillow
  • Cut (4) 5x41” strips for the sides of the pillow
  • Take one of the 5x41” strips and cut in half longways, this will be where you insert the zipper
  • Cut a 1.5x10.5” of the side fabric to add on to the ends of the zipper


Directions:

  • Sew the 1.5x10.5 inch side fabric pieces to either end of your zipper tape. The zipper tape I used was about 1.5” wide, but if you are using a thinner zipper adjust the measurements of the fabric to match your zipper width.  To start, place one of the fabric pieces right side down on top of the zipper, lining up the ends.  Sew together using a ½” seam allowance.  Pull the fabric piece back and top stitch.  Repeat for the other end of the zipper. Now sew each of the 2.5x41” side pieces to each long side of the zipper.  Pin in place to avoid shifting.  When finished, measure the piece to make sure it measures the same as the other side pieces (5x41”). Trim where needed to get to the right measurement.
  • Take each of the side 5x41” fabric pieces and sew together end to end using a ½" seam allowance.  Make sure you leave a ½" space at the top and bottom of each seam unsewn.  This will be important when sewing them to the top and bottom squares of the pillow.  Finish sewing the side pieces by joining the first and last piece so they form a square.
  • Take your 40” top square piece and lay it right side up. Place one of the side pieces right side down on top of the square.  Fold down the ½" seam you left unsewn and pin or clip the whole side piece to the top square.  Minky can be a little finicky to sew with.  It is important to keep it in place as much as possible so it doesn’t shift.  As you get to each corner, fold down the ½" seam you left unsewn.  It should form a nice little square in the corner that will help make a nice square corner when turned right side out.
  • Repeat this process with the bottom 40” square.  Make sure you leave the zipper at least halfway open so you can turn it out later.
  • Once everything is sewn together, turn right side out and push out the corners.  I used shredded foam to fill the pillow, but you can also use stuffing.  I find the foam a little more cost effective since it will take a lot of stuffing to fill.


*I also made a floor pillow using a patchwork top instead of one solid square.  If you are going for this look, cut out (25) 9” squares.  Sew them together using a ½" seam allowance until you have a 40” square.


We hope you enjoy this tutorial with minky! A special thank you to Lindsay Chieco for participating in the Nursery Blog Hop! 


Follow Lindsay on social media and see more creative patterns on my website:

Instagram: @linzentart 

Website: https://www.etsy.com/shop/linzentart


This is the start to our Nursery Blog Hop! Follow along the next 3 weeks for more project inspiration! Schedule below. 


Links will be posted HERE

SHOW US WHAT YOU CREATE BY TAGGING US ON SOCIAL MEDIA @MICHAELMILLERFABRICS 
OR E-MAILING MARKETING@MICHAELMILLERFABRICS.COM

HAPPY SEWING! AND REMEMBER TO KEEP #MAKINGITFUN

Tuesday, April 5, 2022

Nursery Blog Hop

Hello Fabric Lovers!

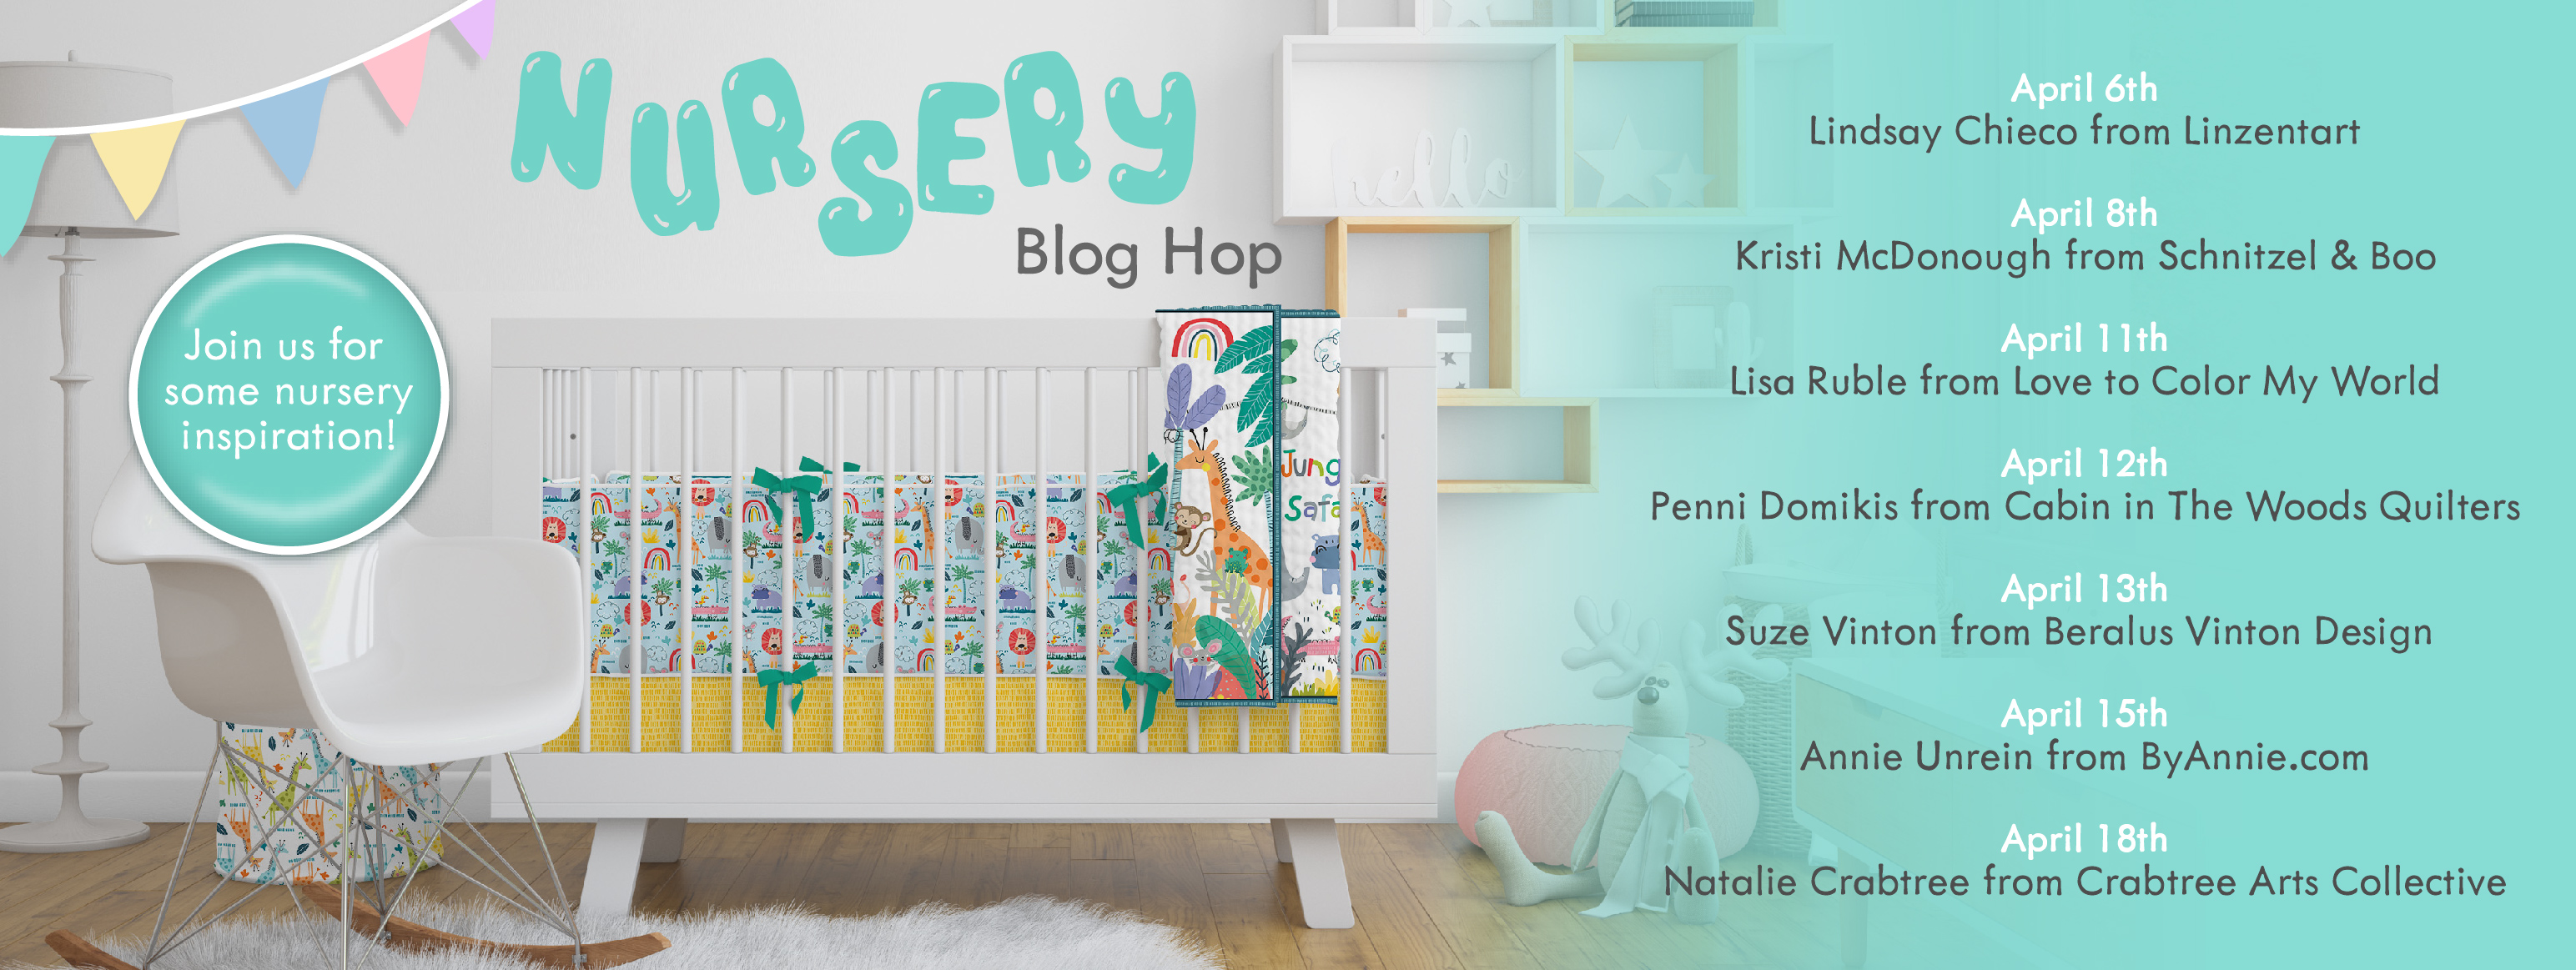
We are excited to announce our 2022 Nursery Blog Hop starting on April 6th! 

Follow along to get inspired by a variety of fabulous makers! From quilts to crafts, these 7 sewers have created beautiful projects using our nursery themed cotton and minky prints as well as basics. Join us over the next 3 weeks as we hope to inspire you to create! These projects are perfect gifts for baby showers, new borns or even to decorate your own nurseries at home.  The links to each blog will be added below on the scheduled day of each post.

April 6th - Lindsay Chieco from Linzentart  Click HERE to view post

April 8th - Kristi McDonough from Schnitzel & Boo Click HERE to view post

April 11th- Lisa Ruble from Love to Color My World Click HERE to view post

April 12th-Penni Domikis from Cabin in The Woods Quilters Click HERE to view post

April 13th- Suze Vinton from Beralus Vinton Design Click HERE to view post

April 15th- Annie Unrein from ByAnnie.com Click HERE to view post

April 18th- Natalie Crabtree from Crabtree Arts Quilts Click HERE to view post 

Make sure to follow these designers as well to see all the amazing projects they are creating. 

Happy Hopping! And remember to always keep #makingitfun


Friday, April 1, 2022

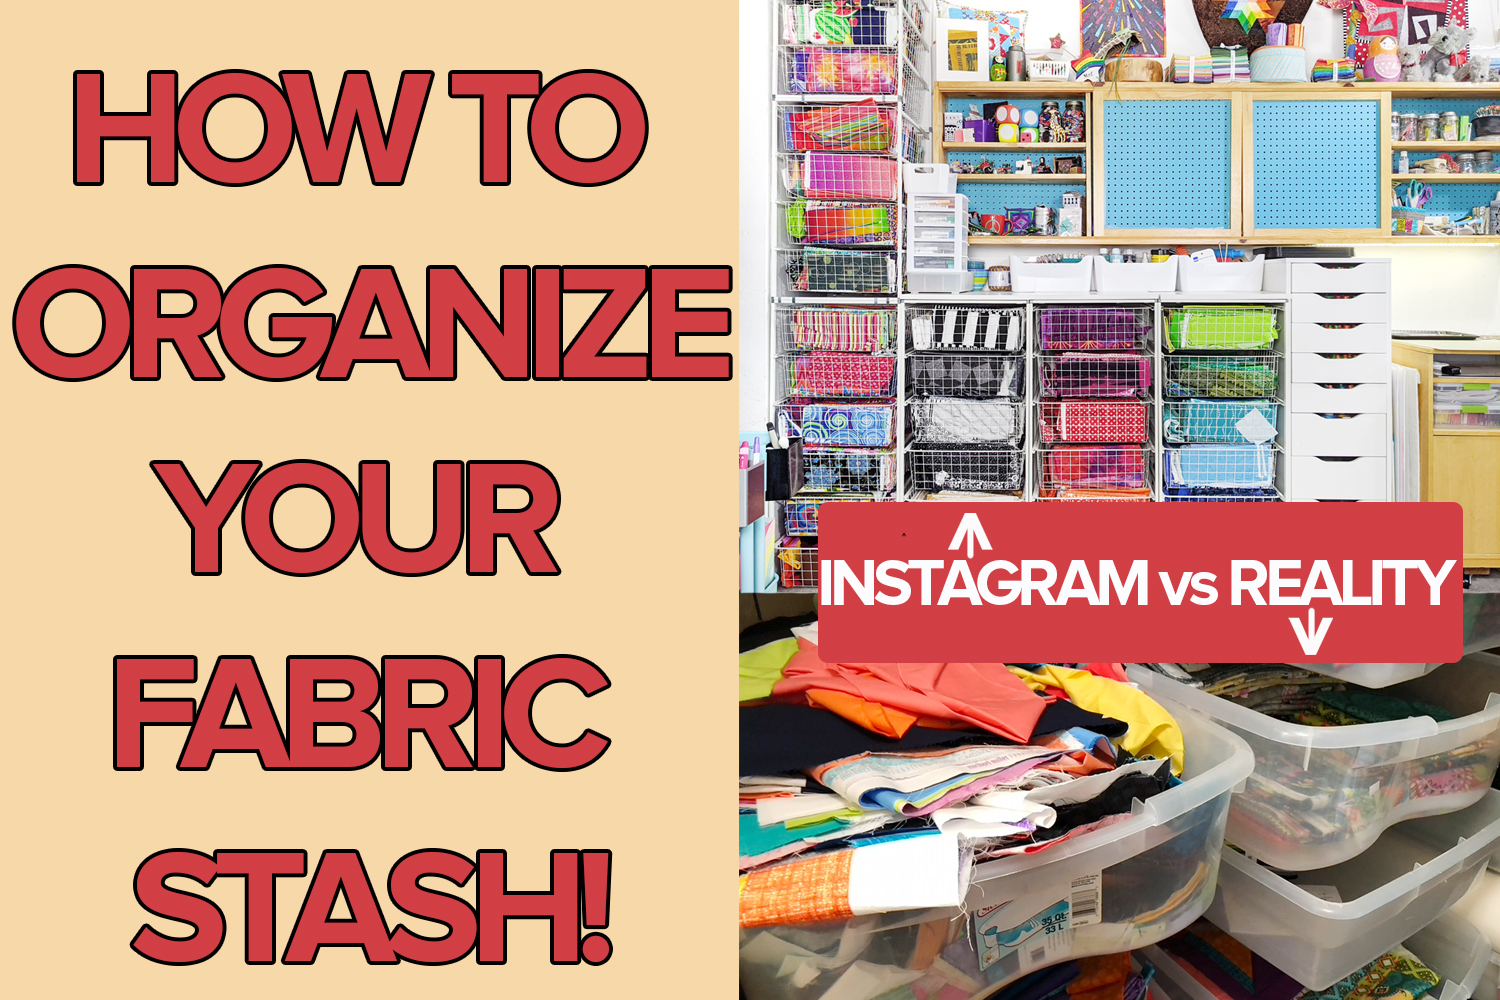
How to Organize your Fabric Stash!

My Fabric is all organized!.............. APRIL FOOLS! 

It is no surprise that many quilters have large stashes of fabric. At first, it just becomes a fun hobby to collect fabric and have options, a yard here and there and then before you know it, the stash is overflowing and becomes overwhelming to the point that you don't even know what you have anymore!

It's time for some Spring cleaning! The perfect time to get organized. Learn how to create a system that will last for years from our quilting experts so you'll never have to go digging for a dot again. 

Tips and Tricks from Debby Kratovil:

If you love scraps, cut them into usable pieces ex. 5” charm squares, 2-1/2” jelly roll strips. Overtime, if you realize you do not use them, donate them to your local quilt guild.

You can sort by color which is an effective method but if you find yourself looking for a particular piece from a particular collection often then this method Is not ideal for you.

I currently store my fabrics by vendor and collection. Many of them are secured with a rubber band (because 90% of what I have are fat quarters or half-yard cuts) and the name of the collection is attached with a piece of paper. It’s very easy for me to find what I’m looking for and the coordinating fabrics will work together for another project.

Having the right storage system is important and don’t be afraid to get creative with it! I began using large yogurt boxes from Costco! Each box can hold about 12-15 cups and over the years, I have about 4 dozen, that’s 48 boxes total for my samples. It of course took me a few years to eat all that yogurt but the beauty of this is that the boxes stack nicely with each other up in my closets and I place labels on the outside, so I know exactly what’s inside.


Tips and Tricks from Jennifer McClanahan:

I organize my fabric by color then by company and subcut that into designers. I also categorize my novelties separately and then have subcategories such as Baby, sports, children, etc. All my Precuts are kept together in one spot and then broken down into FQ, 10”, 5” etc. see some images below for inspiration.


Tips and Tricks from Lisa Norton & Lora Zmak:

Ikea cabinets are my favorite with flannel covered foam core attached to the fronts. It hides the stash and creates a nice design area. Medium sized plastic tubs can also work. Lora Zmak made a YouTube video showing off her sewing room and provides some excellent organization tips! Watch HERE 

Tips and Tricks from Mel Beach:

Most of my fabric is stored in these wire baskets and frames from IKEA. The photos all feature the Antonius system, which has since been replaced by a very comparable Jonaxel system. These baskets are strong and hold lots of fabric. Most of the fabric is folded and stored vertically so I can see all the fabric when I slide it out like a drawer. I can pull the entire basket out and place it on my cutting station for a deeper dive. Most of my stash is sorted by color with a few baskets reserved for special collections such as solids, ombres, gradients, multicolor batiks, florals, stripes, etc.

For fabric scraps, I have a rainbow Really Useful Boxes® 8 Drawer Rolling Cart from Michaels right next to my cutting table. (Find it HERE) It is perfect for sorting my scraps by color into the color-corresponding drawer, with neutrals (black, white, grey) going into the pink drawer and multicolor scraps sorted into the teal drawer. Having all my scraps sorted by color makes it easy to find the perfect scraps for any project! 


Tips and Tricks from Rob Appell:

“I love to try to keep my fabrics organized. I have an old McCall’s Pattern cabinet, that holds my personal stash of sea life and landscape fabrics, do not dig around it there often, it has become a bit less than perfect, but at one time was  based first on waters, rocks, plants, fish, and then scale, and then color and texture. 
Once I started created massive amounts of quilt related videos, the plan for organization had to change. I mounted shelf tracks on my closet wall to hold plastic totes that can all be removed and swapped due to the filming schedule and where I am at in the projects. I few of those bins are all Michael Miller Basics, and also at one time were color coded and nicely folded and stacked by texture then color. 
Then I started a new project… photos the current situation - I guess you can say that as much as I love to be organized,  I love Making stuff more, so I will clean up later. - Rob”


Which one was your favorite organizational hack? Happy sewing and spring cleaning! Your fabric and space will thank you 😉

For inspirational quilts and other projects, visit us at: https://www.michaelmillerfabrics.com/inspiration.html

Be sure to follow us on social media @michaelmillerfabrics 

Learn more about these quilting experts with their links below:


Jennifer McClanahan
Instagram: @sweetteapatternco 

Lora Zmak and Lisa Norton
Instagram: @material_girlfriends 

Mel Beach
Instagram: @melbeachquilts