Showing posts with label Origami Oasis. Show all posts

Tuesday, September 30, 2014

Josée Carrier, Origami Oasis & an awesome quilted pillow tutorial!

Today, I was invited to contribute to MMF's blog to present you with projects made from Origami Oasis Collection by Tamara Kate. Lets start with an introduction. I'm Josée Carrier and I blog at The Charming Needle. I'm the co-founder and current vice-president of the Montreal Modern Quilt Guild. This is where I met Tamara.

I come from an engineering background. I've always been a crafty person. My mom loves exploring different medium and she transmitted this to me and my sister. I think this is a great combination for quilting and sewing in general. As they require both some logic and creativity. I started sewing when I got my first apartment, mainly doing home decor projects. I would say I got into sewing and quilting more seriously after becoming a mom, about 5 years ago. As I wanted to make projects for my little ones, I discovered modern prints as well as an amazing online quilting community. I love creating and designing projects of my own. For me, quilting and patchwork projects are a great way to express my creativity. I started blogging not long after I started quilting. And since then, I have published several projects in different magazines.

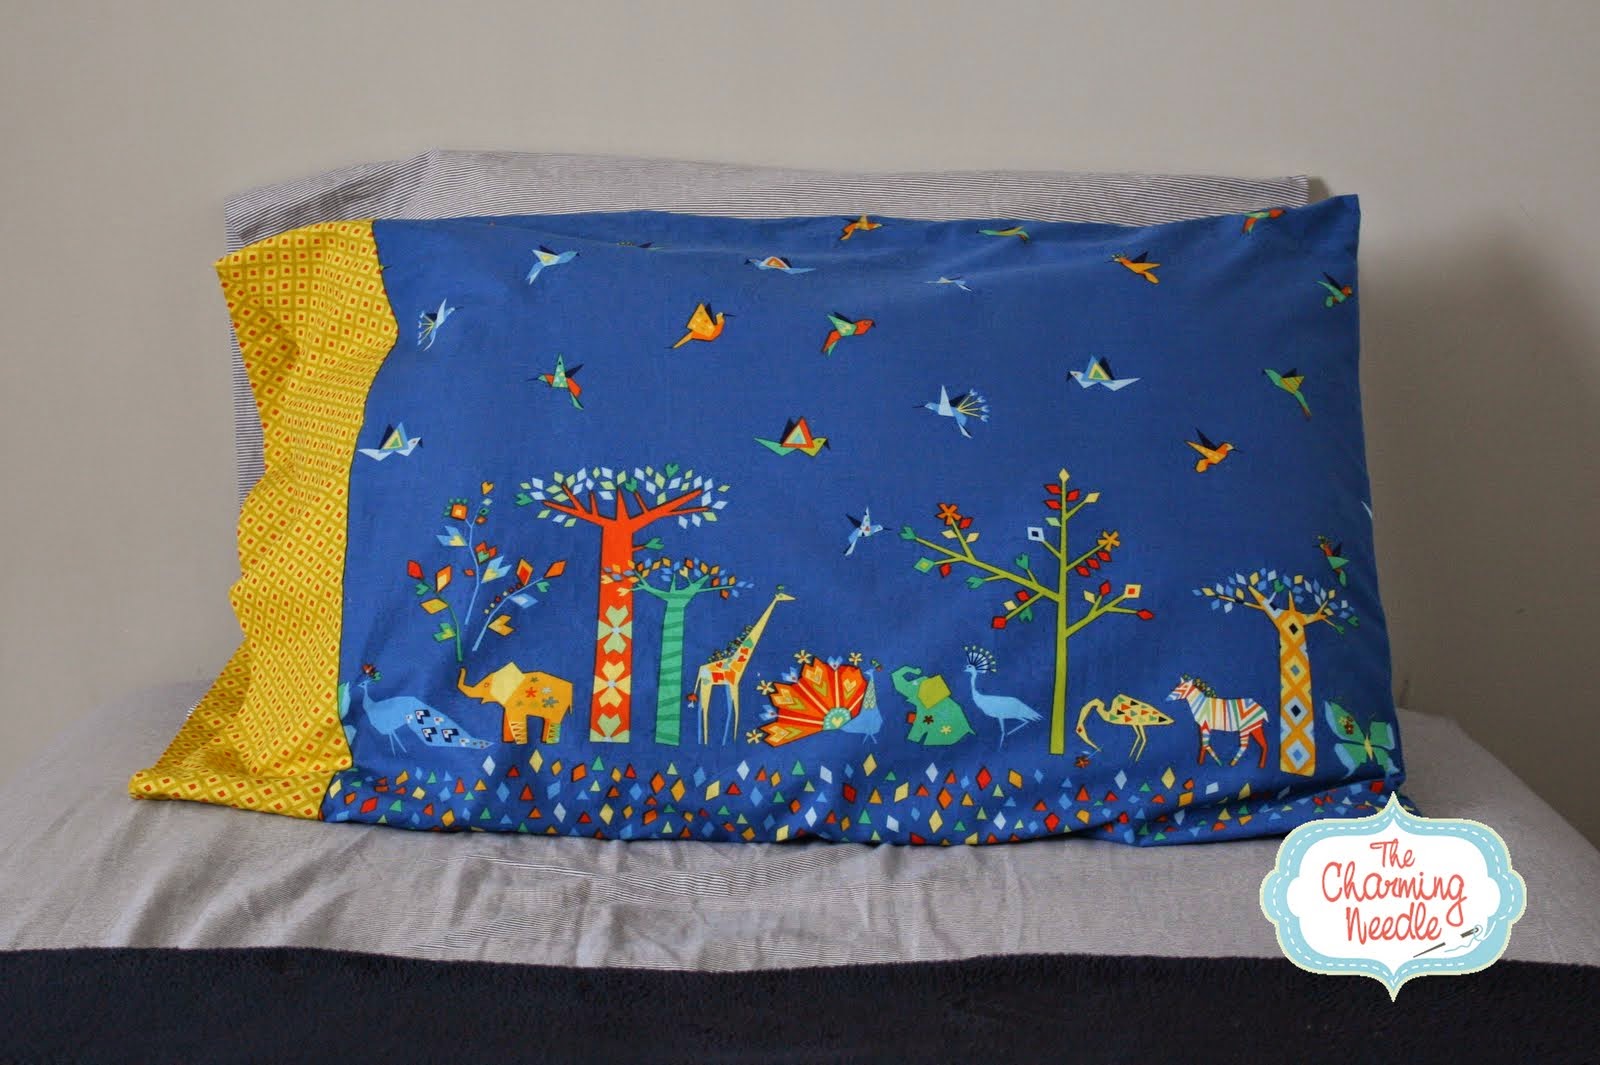
The first designer fabric I've ever bought was from Michael Miller Fabrics (Zoology print) and it was to decorate my younger son's bedroom. The timing was perfect when Tamara contacted me this summer to do a project with her new collection. We were planning on changing my son's bed from a toddler size to a twin size and on redecorating his room. Not only was the timing perfect, but Tamara's collection was perfect too! My son and I loved it. So, I took the opportunity to make him a pillow case and a new pillow.

Lets start with the pillow case. This was a quick and fun project to make. My son was happy to contribute to sewing it. The Oasis Border print was just perfect for this. I've combined it with the Spot print in Starfruit for the band. I followed the Roll It Up pattern by American Patchwork & Quilting found on allpeoplequilt.

Tangram Pillow-039.JPG

As for the pillow, my design was inspired by tangram puzzle games. I had the idea of making different blocks showing tangram pieces in a square arrangement and other configurations. I thought that the prints from the Origami collection were a great fit for this. I used paper piecing to piece the different blocks. For the different tangram shapes, I've used tone on tone prints (or limited color prints) in different colors: Spot, Fold and Crossing Paths prints. I've used some white for the background.

Tangram Pillow-038.JPG

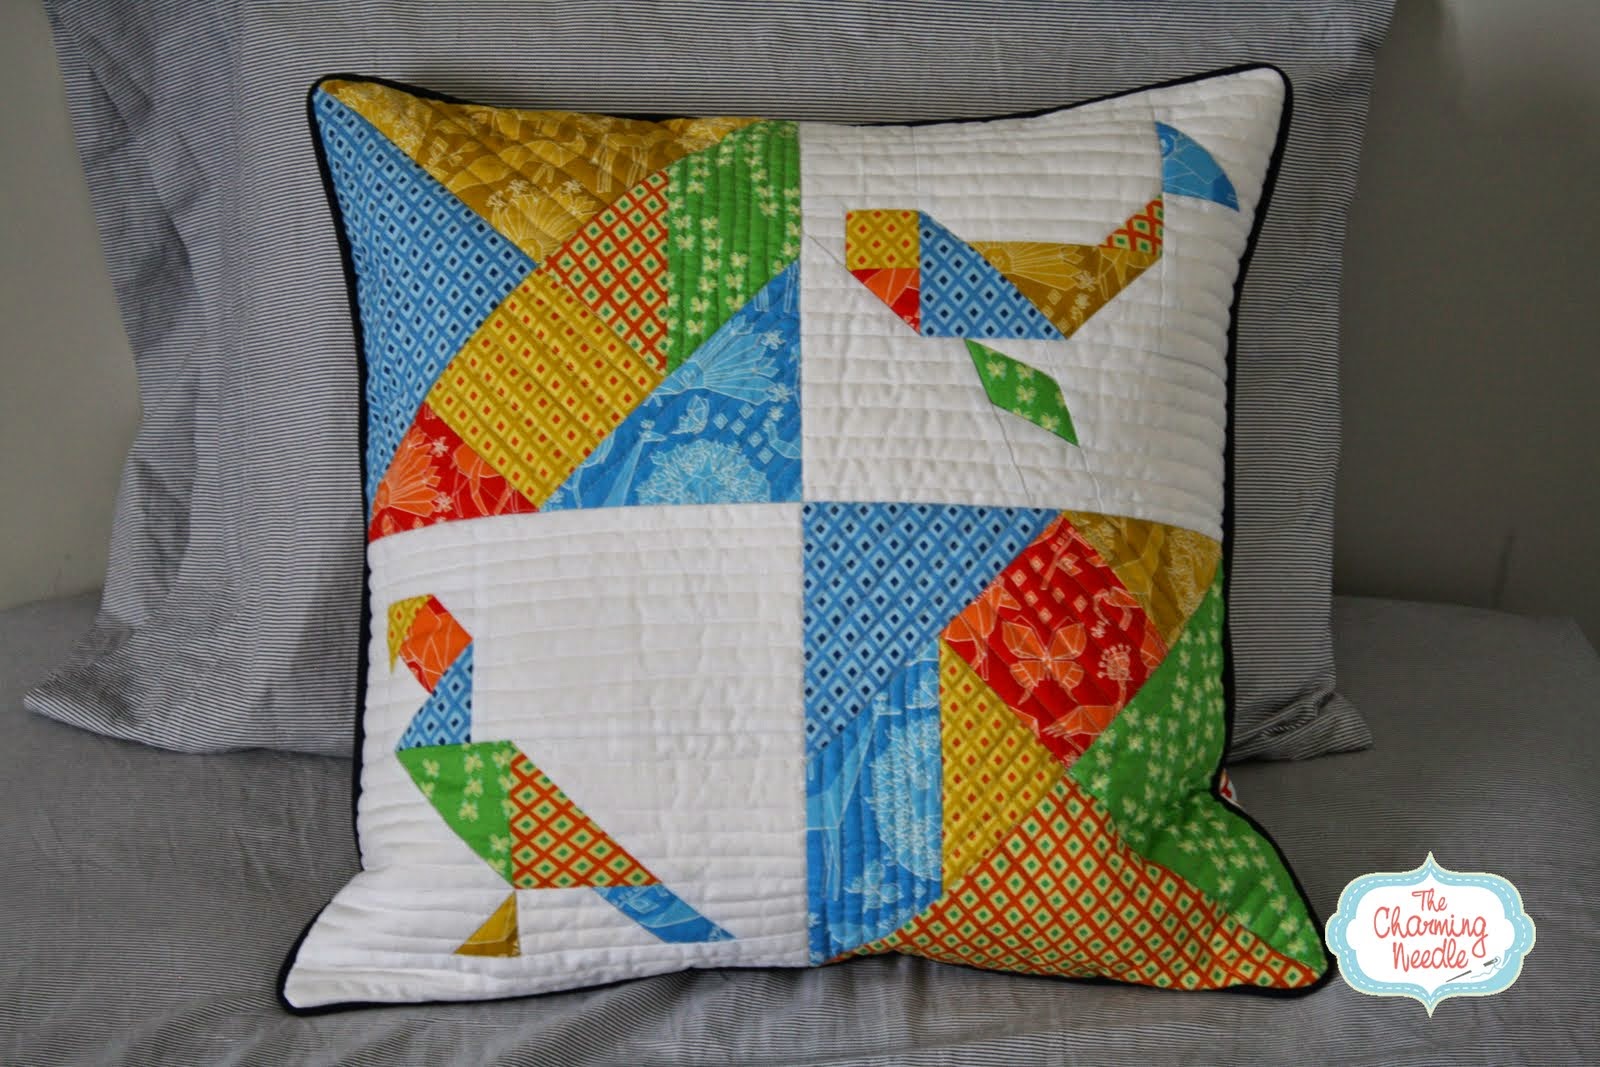
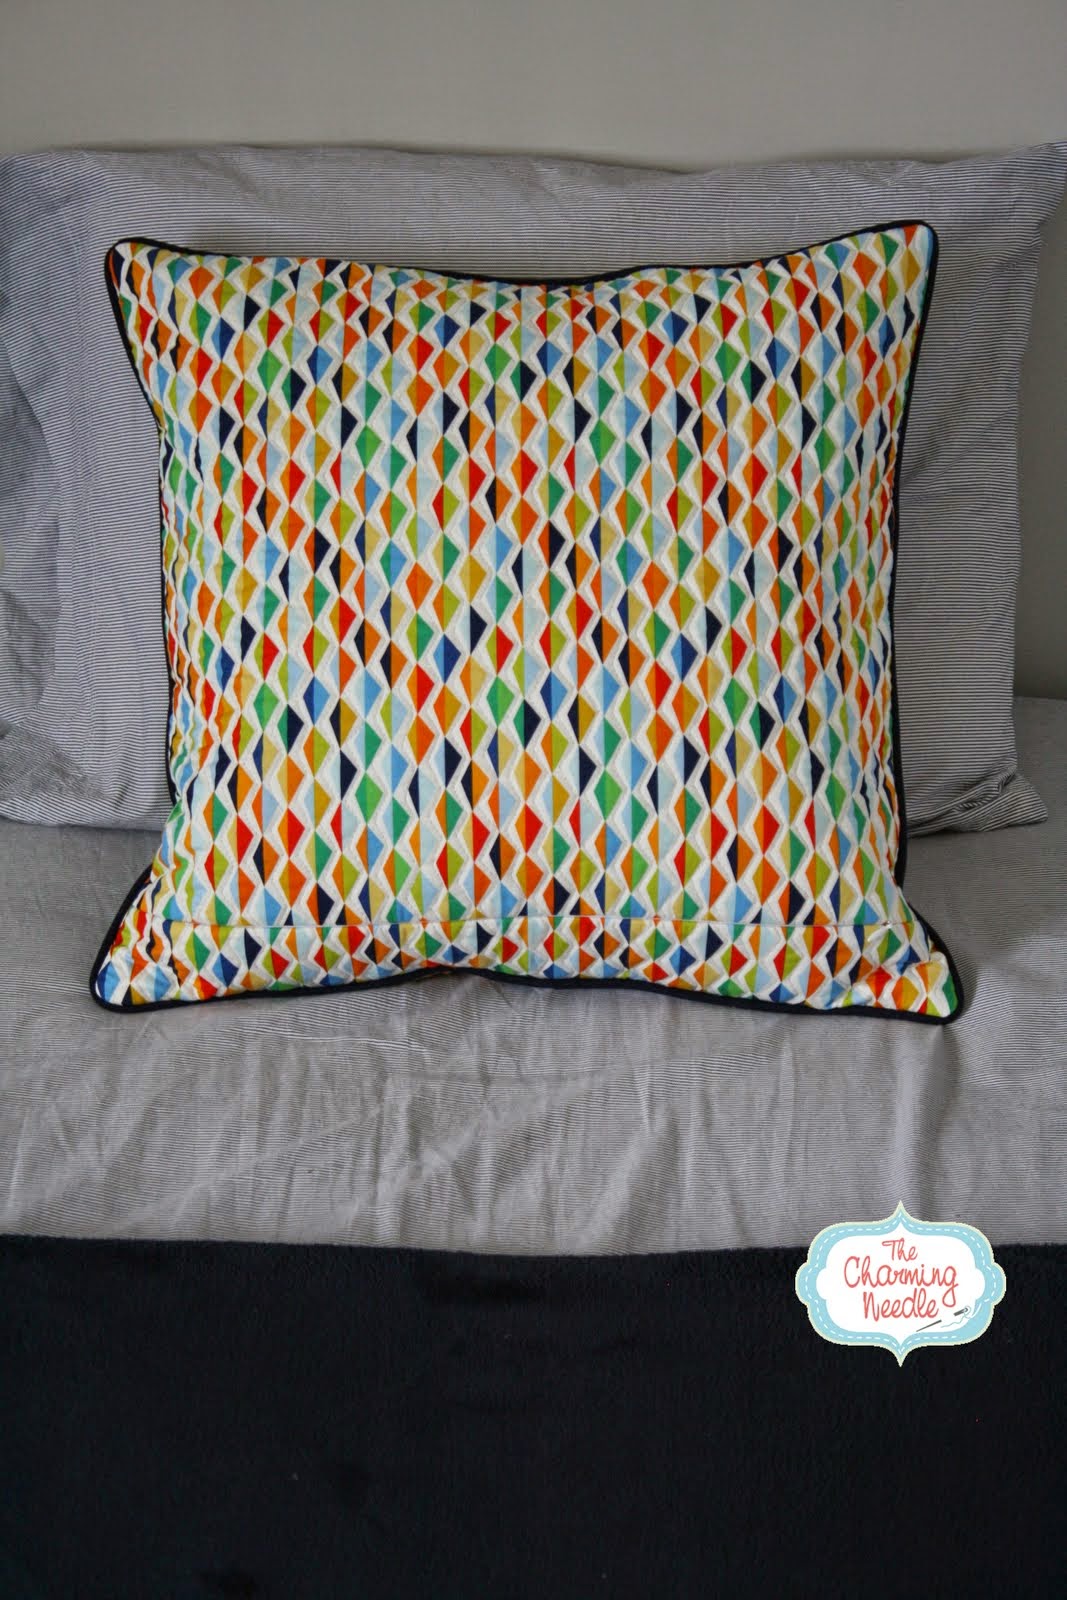
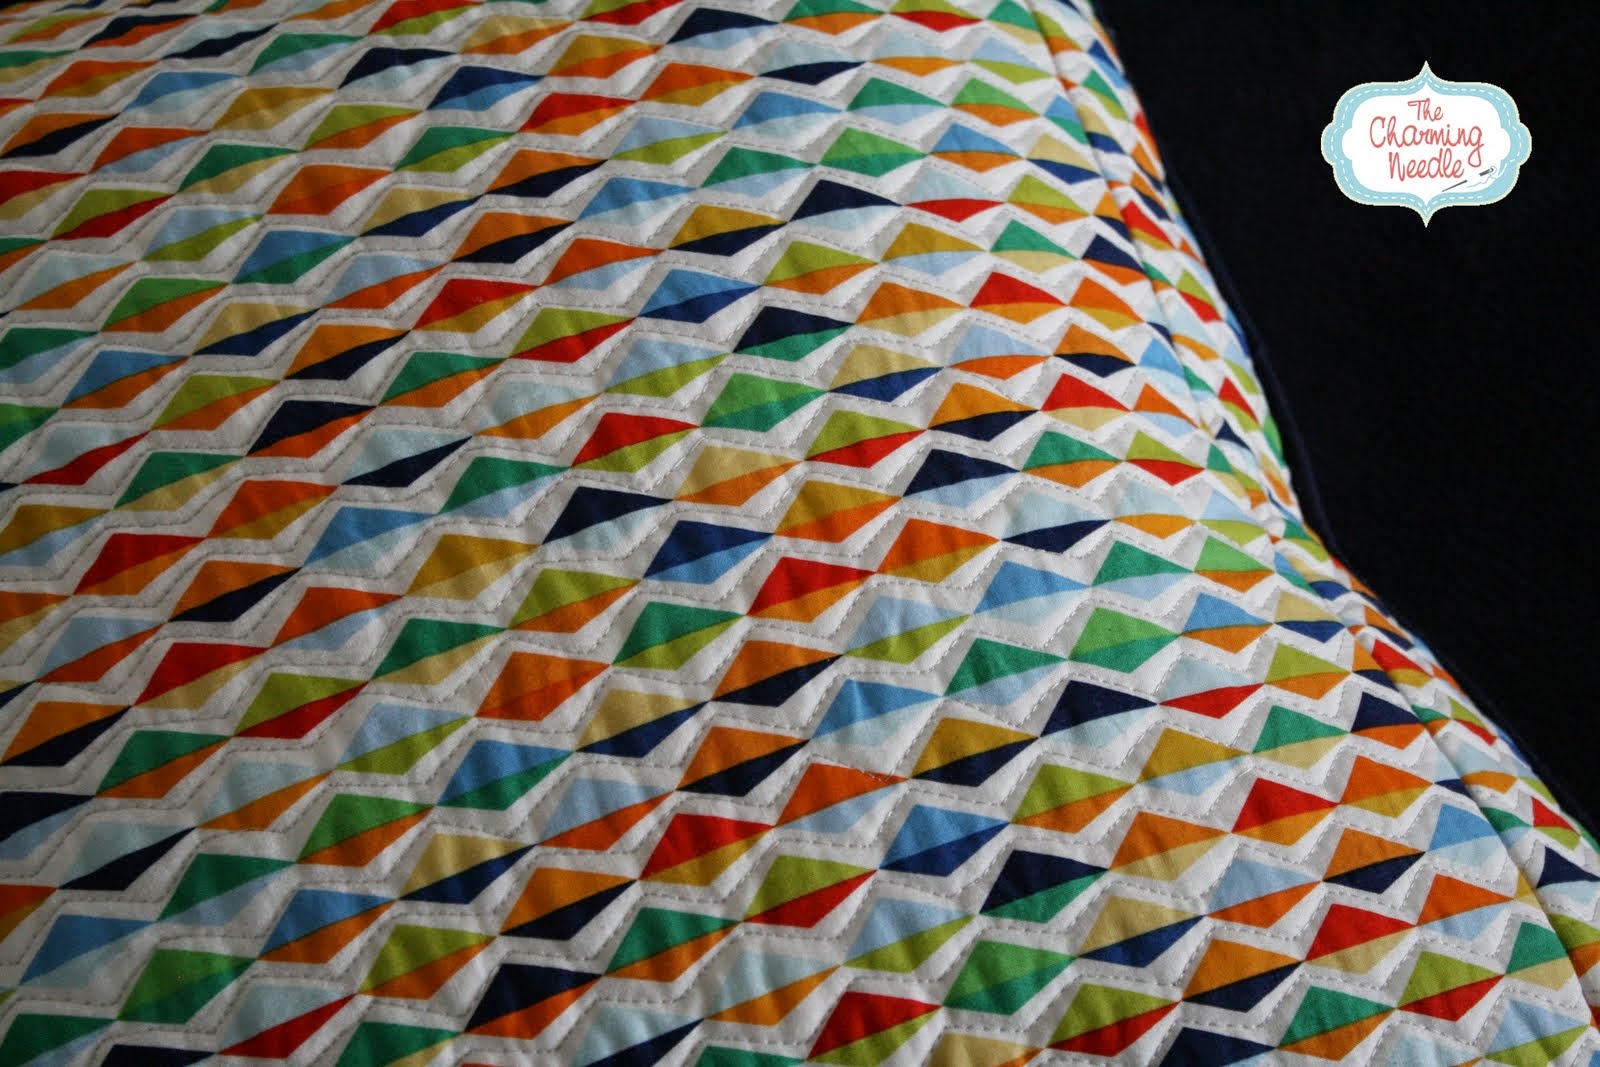
For the back, I've used the Mountain & Valley print which is one of my favorites from the collection. I just love how Tamara played with asymmetry in those diamonds. I particularly like the combination of colors in the print from the Grass Land color way. I thought I was missing some navy from that print on the front, so I decided to put a navy piping on my pillow.

Tangram Pillow-040.JPG

I prefer when a pillow is quilted on both sides. On the front, I used straight line quilting in different directions. On the back, I really enjoyed using free motion quilting to add texture to the print. It was fun and quick to quilt in the white in between the mountains and valleys.

Tangram Pillow-041.JPG

My pillow finishes at 20" square. So, it's made out of a combination of four 10" blocks. If you would like to make those blocks, you'll find the paper piecing templates I've prepared here. I used a 1/2" seam allowance for assembling the front and back panel of the pillow cover. However, I used a 1/4" seam allowance for joining the blocks together. If you want to do the same, you'll need to be careful when paper piecing to add the right seam allowance to the different block edges. Take care to add a 1/2" seam allowance to the outside edges. The sketch on the first page of the templates shows the seam allowance on the different edges.

I hope you enjoyed reading about my projects and that it will inspire you to create some projects of your own with the Origami Oasis Collection by Tamara Kate.

~ Josée Carrier
(co-founder and current vice-president of the Montreal Modern Quilt Guild)

Friday, September 19, 2014

Tamara Kate, Origami Oasis & a Giveaway!


Hello! I’m delighted to be back here doing another guest post with you all today. My fifth collection with Michael Miller, Origami Oasis, started shipping to stores over the past week or so and I have been posting sewing projects galore over on my blog. I have a number more lined up over the next few weeks, with links to other talented bloggers’ creations as well. From kids’ clothing to accessories to quilts, there is something for all the young spunky animal lovers out there that we love sewing for so much, and even a little something for us too.
 
Here is a sampling of projects already posted about, as well as a few peeks into a couple of the upcoming posts:

From the Flower Field grouping, there is the pretty Shandiin Tunic and a young gentleman’s bow tie (and don’t forget the Lined Tote Bag Tutorial I created for the MMF Craft Camp last month).


From Grassland, a button-up boy’s shirt and a quilt detail, along with the Stand Tall Dress.

 
And from the fun, graphic Starry Sky grouping, a detail of the Starry Migration Quilt and another bow tie for the well-dressed lad.

Today I want to share a simple, cute project with you, to add a bit of pizazz to your little one’s plain sweater or long-sleeved t-shirt.


The ROAR! Elbow Patches

These lion heads are a favorite of mine. In designing them, I wanted them to be proud and strong, yet gentle, hence the flowery manes.


All you need is a fat quarter of Pride. This print comes in three versions: a white background with primary pops of color, a midnight navy ground with similar coloring, and a more feminine version on a white ground.

Choose the background color accordingly, based on the sweater color (and, by the way, I think this would be an equally charming project for a girl’s sweater as it is for a boy’s).


What You Will Need:


- A fat quarter of Pride in your chosen color

- Sewing thread to match the background color

- Needle & scissors


Fussy cut two lion heads from the fabric, leaving about a quarter inch ground all around.

Carefully iron about an eighth inch of fabric to the wrong side, all the way around.


Have your child try on the sweater so you can accurately locate the elbow center on each arm. Mark this point with a safety pin, or with a fabric marker.

Place the sweater so that the sleeve is flat on your work surface and place the center of the lion head over the marking. Pin in place. Repeat with the other arm. Stitch all the way around with an invisible stitch (there is a great tutorial here).
The result: clean-edged patches with personality that are ready for action!


Since you’re on a roll, why not make use of some more of the fabric. These peacocks, found just above the lions, would also make sweet patches.

Happy sewing!


And now for the Giveaway!


To celebrate Origami Oasis’ release into the world, we wanted to offer you the chance to win some fabric as well as a little something extra. Some of the Oasis creatures have found their way onto delightful paper prints and canvases at CC Art Children’s Decor, a company that reproduces Canadian artists’ work to promote creativity and wonder in children’s lives.


Michael Miller is offering two fabric bundles, one in the Flower Field group and one in Grassland. And to coordinate with each, CC Art is generously including a corresponding print (8” x 10”, unframed) to add some colorful artwork to your child’s environment.


To enter, let us know below which fabric group you would prefer to win and what you would sew with it. We will randomly choose a winner for each


Best of luck,

Tamara

And, the winners are.....

OhioLori
"Beautiful Fabrics...& Prints! So hard to choose! But decided on Flower Fields...would make something Special for my Grangirlie, will let her help choose what it will be. Am teaching her to sew this year...she is 7 now."

and

 Barb in Mi
"Great prints! Love both but if you need to know: I would love to make a kids quilt out of Grasslands. Thanks so much"

Congratulations and Happy Sewing!!


Tuesday, August 19, 2014

MMF Kids Craft Camp Project #3 :: The Lined Tote by Tamara Kate

Hi everyone, it’s Tamara Kate here with you today. You may be familiar with my work as one of Michael Miller Fabric’s licensed fabric designers, or through my blog, kayajoydesigns. Today, however, I am delighted to be here as an avid sewer, Mom of two who are learning to sew, and this week’s guest Camp Counselor in the Kids Summer Craft Camp Series.

Well, ok, I am also here with my fabric designer’s hat on, as I get to give you a peek into the world of wonders that is Origami Oasis, my new fabric line about to hit stores in September. Origami Oasis is a graphic, young, lively collection, comprised of three color groupings, offering a myriad of possibilities for boys and girls, so everyone can get in on the fun. This project uses fabrics from the Flower Field group.
 
I asked my eight-year old daughter, Emma (who recently received a sewing machine as a birthday present) what she would like to learn to sew for this series, and we went back and forth on a variety of ideas, but came to rest on something functional that she could sew on her machine and that she could have fun embellishing as well. Thus we created the Lined Tote Bag.


Your camper will need basic sewing skills and use of a sewing machine for this project. If he/she is new to machine sewing, I find these sewing sheets, by Skip to my Lou, great for getting comfortable before diving into the project.

So campers, let’s get started.

Your Supplies:

- A - 2 pieces (10” high x 12” wide) main fabric

- B - 2 pieces (3” high x 12” wide) contrasting fabric for base of bag

- C - 2 pieces (20” high x 6” wide) fabric for straps

- D - 1 piece (23” high x 12” wide) fabric for lining

- materials for embellishing (sequins, beads, embroidery floss, felt….)

- thread

- fine needle
Here’s what we used:


- Embellishments: a variety of shapes & sizes of sequins and glass seed beads.

Your Instructions:

Cut your fabric as indicated above.

The embellishment: You get to use your imagination here and be as creative as you would like. (tip: keep anything hard or bulky at least 1” from fabric edges, as otherwise they may cause problems when machine sewing). Here are a few ideas:

- cut shapes from felt and stitch them on with a simple embroidery stitch

- embroider around design elements that are printed on your fabric

- add buttons or ribbon

We sewed on sequins and glass seed beads in strategic spots, giving the trees fruit and flowers and giving some of the animals just a little more pizazz than they already have.


Here’s a quick how-to: Using regular sewing thread and a fine needle, knot your thread and bring your needle up through the fabric to the right side. Thread the sequin onto the needle and pull it down to the fabric, then thread a bead on. Pass your needle back through the hole of the sequin to the back of the fabric & pull the thread all the way through. Keep the beads and sequins in a concentrated area for more visual effect and don’t leave too much loose thread dangling at the back between beads, as it can easily get snagged on things and create problems. Be sure to knot your thread securely at the back of the fabric.

The machine sewing: We used ½” seams in all places. Here’s a tip we use to help with sewing straight lines: Place an elastic band or a piece of masking tape around the base of the machine exactly ½” from where the needle descends, giving a bold visual of where the fabric edge should stay.

Ask an adult to help with any ironing.

The front and back: With right sides together, place B on the bottom of A, aligning edges and stitch across the width (tip: if your B fabric is directional, make sure to turn it upside down). Repeat for the other side. Iron seams toward fabric B.

The bottom of the bag: Right sides together, place one bag side on top of the other, matching bottoms. Measure in about 4” from either side at the bottom and place pins at these points.  Sew in from each side, backstitching at the pins, leaving the center area open. You will use this opening to turn your bag right side out later on. Iron seam open.
The straps: Fold one C piece in half along its length. Sew the long raw edges together. Turn the strap right side out by pulling on the inside with your fingers. Repeat for the other strap. Iron the straps flat, seams to one side.

Attaching the lining & securing straps: Place one strap in a “U” formation at the top of one of your bag sides, aligning raw edges and leaving 1½ ” of free space at both right & left edges of the bag. Make sure the bottom of the “U” looks like the picture below.

Carefully place piece D on top, aligning edges, and pin the strap securely in place. Sew along the top edge. Repeat with the other side. Iron both seams toward the lining.

The sides: You should now have a tube of fabric, with your straps on the inside. Adjust the tube so the seams you just created are in the center and the base with the opening is at one end. Pin along both long edges, making sure not to catch the straps in anywhere. Sew both sides, backstitching at each end.

Turn the bag right side out through the opening left in the base. Stitch the opening closed by hand using a whipstitch, trying to keep your stitches small and close together. Knot your thread at the end. Before cutting the thread, pass your needle through the fabric at the end of your stitching and back out again 1” further along. Gently pull on the thread to pull the knot through to the inside of the bag, then cut the thread.

Insert the lining into the bag and pull all corners out sharply (you can gently use a pin to help). Iron your bag to have a crisp upper edge and to remove any creases.

Be proud of what you’ve created & enjoy using it!

 
Happy sewing!

Tamara
.............................................

Send us pictures of your child's work in progress or their finished tote using Michael Miller fabrics and two lucky campers will win a bundle of Origami Oasis!
--Here are several ways to enter--

1. Help the kids photograph their projects and then send them to us!

2. You can email the ideas and photos to kaitlin@michaelmillerfabrics.com

or

3. Post your photos to our Facebook page 

or

4. Tag @michaelmillerfabrics on your Instagram photos and use #MMFCraftCamp

We'll pick the lucky campers after Labor Day weekend!